TLDRAligning the 4th axis is crucial in machining; a tiny 0.385-degree error can make "flat" surfaces not truly flat. Switching from a bubble to a digital inclinometer drastically improved accuracy, leading to better setups and cleaner cuts. Precision tweaks might seem small, but they make a big difference in achieving those tight tolerances. 🚀
Show moreShow less
Dialing in the 4th Axis: Precision Matters
Getting the 4th axis perfectly aligned has been a challenge, but I’m making progress! I was using a bubble inclinometer for setup, but it turns out I was getting a 0.385-degree error. That might not sound like much, but in machining, that’s enough to make flat not actually be flat. 😩
To fix this, I switched to a digital inclinometer, and the difference is night and day. The accuracy boost means better setups, cleaner cuts, and fewer headaches down the line. 😊
It’s crazy how small misalignments can create big issues, but it’s all part of learning and refining the process. Onward to even tighter tolerances! 🚀
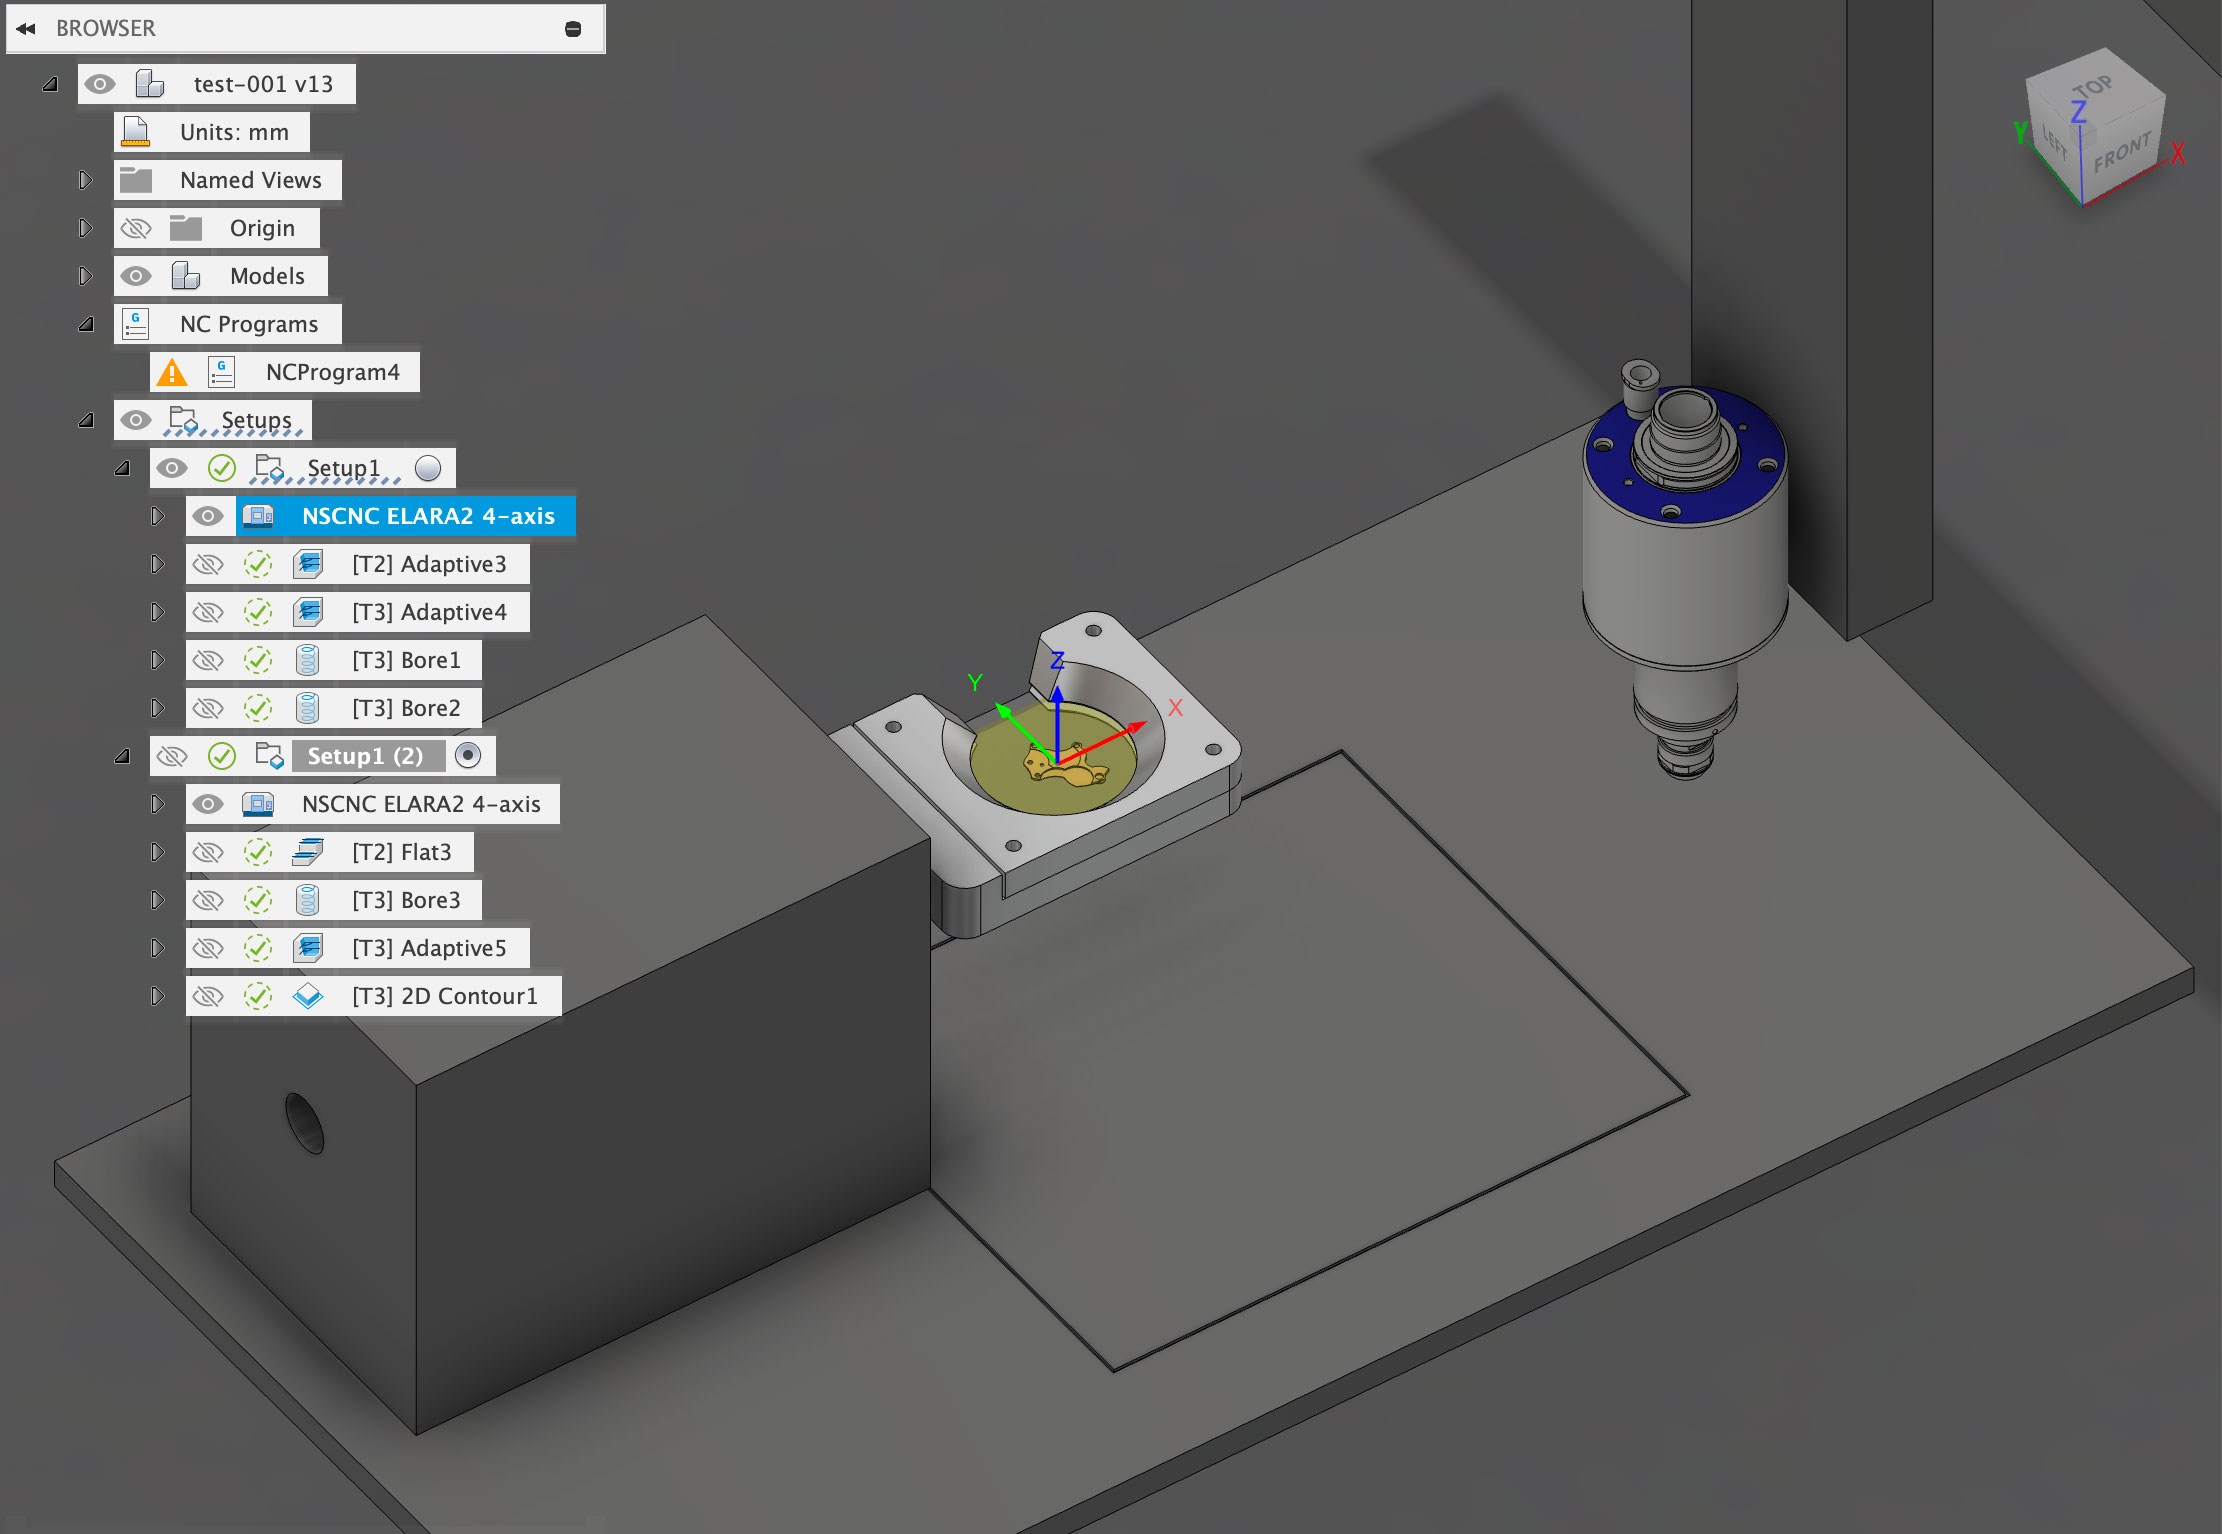
TLDRTurning digital simulations into real-world machining is an exciting blend of precision and unpredictability. Watching software predictions from tools like Fusion 360 come to life on a mill is mesmerizing, though real life throws in quirks like tool deflections and material variations. Each test helps refine the process, bridging the gap between digital and physical, making the learning curve both steep and rewarding. 🚀
Show moreShow less
From Simulation to Reality: A Fascinating Process
One of the most fascinating parts of this journey has been seeing the machine simulation in software and then comparing it to what happens in real life. Watching the toolpaths play out in Fusion 360, predicting each cut, and then seeing the actual mill replicate it with precision—it never gets old! 😊
Of course, real life always brings small surprises. Tiny adjustments, tool deflections, or material variations can make a difference, but that’s what makes machining so interesting. Learning how to bridge the gap between digital perfection and physical execution has been a steep but rewarding challenge.
Each test piece refines the process, and I’m getting closer to fully trusting the workflow. More to come as I continue dialing everything in! 🚀
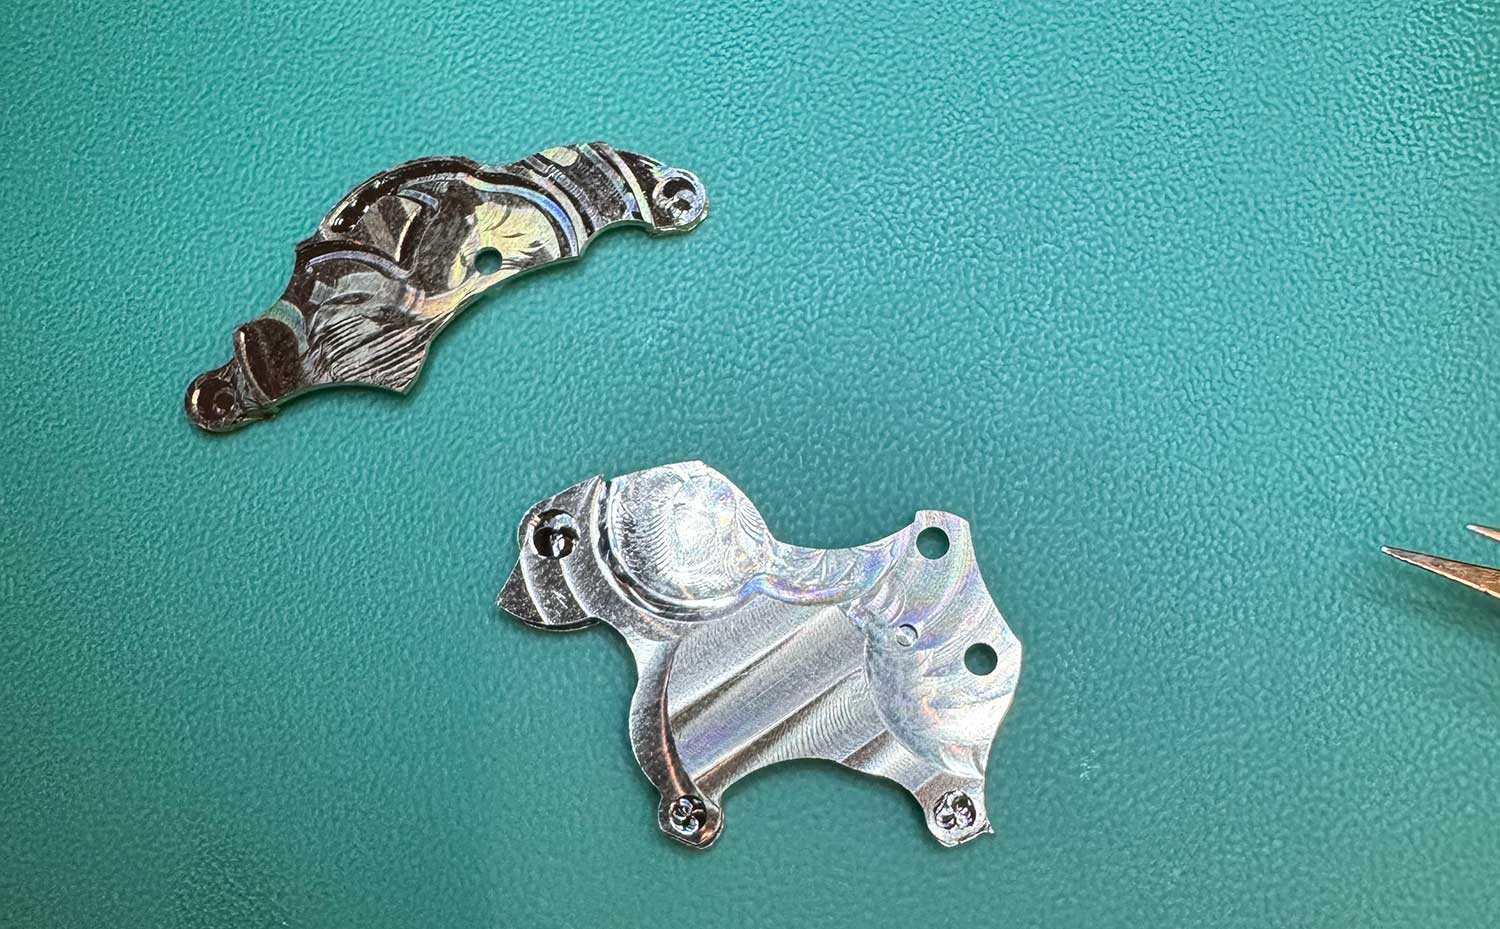
TLDRNailed the second milled piece, and it's smoother than ever! Learning tons with each run, I'm getting the hang of using Fusion 360 and the 4-axis mill. Precision and surface finish are looking sharp, and while there's still room to improve, this is a solid step forward. 🚀
Show moreShow less
Second Milled Piece: More Progress! 🎉
Another milestone—the second milled piece is done! Each run is getting smoother, and I’m learning a ton along the way. The workflow from Fusion 360 to the 4-axis mill is starting to feel more natural, and refining the process with tool changes is becoming second nature. 😊
This time, I focused on improving precision and surface finish, making adjustments based on what I learned from the first piece. It’s incredible to see the details come through with each refinement.
Still plenty to optimize, but this is another step forward. Onward to the next cut! 🚀
TLDRBig news: I just milled my first piece! 🎉 The journey's been a steep learning curve, but the payoff is seeing my brass design come alive, thanks to a 4-axis setup and some tool swapping magic. Huge shoutout to Alexis for learning alongside me—couldn't have done it without that teamwork! 🙌
Show moreShow less
A Steep Learning Curve, but Big Progress!
Wow—this has been a steep learning curve, but every challenge has been worth it! From refining designs to getting hands-on with the mill, it’s been an intense but rewarding process.
A huge thanks to Alexis, who has joined me for a few months to learn alongside me. Having someone to discuss ideas and troubleshoot with has made a big difference. 🙌
And today marks another milestone—the first piece has been milled! 🎉 Using a 4-axis setup, I machined a brass H62 (50x50x2mm) stock, fully exported from Fusion 360. This run even included a tool change, swapping between a 3mm diameter and 1mm diameter tool (#HarveyTool) to capture the finer details.
Seeing the machine in action, handling the transitions smoothly, and watching the design come to life in metal was incredible. There’s still so much to refine, but this first cut is a huge step forward. Onward to the next challenge! 🚀
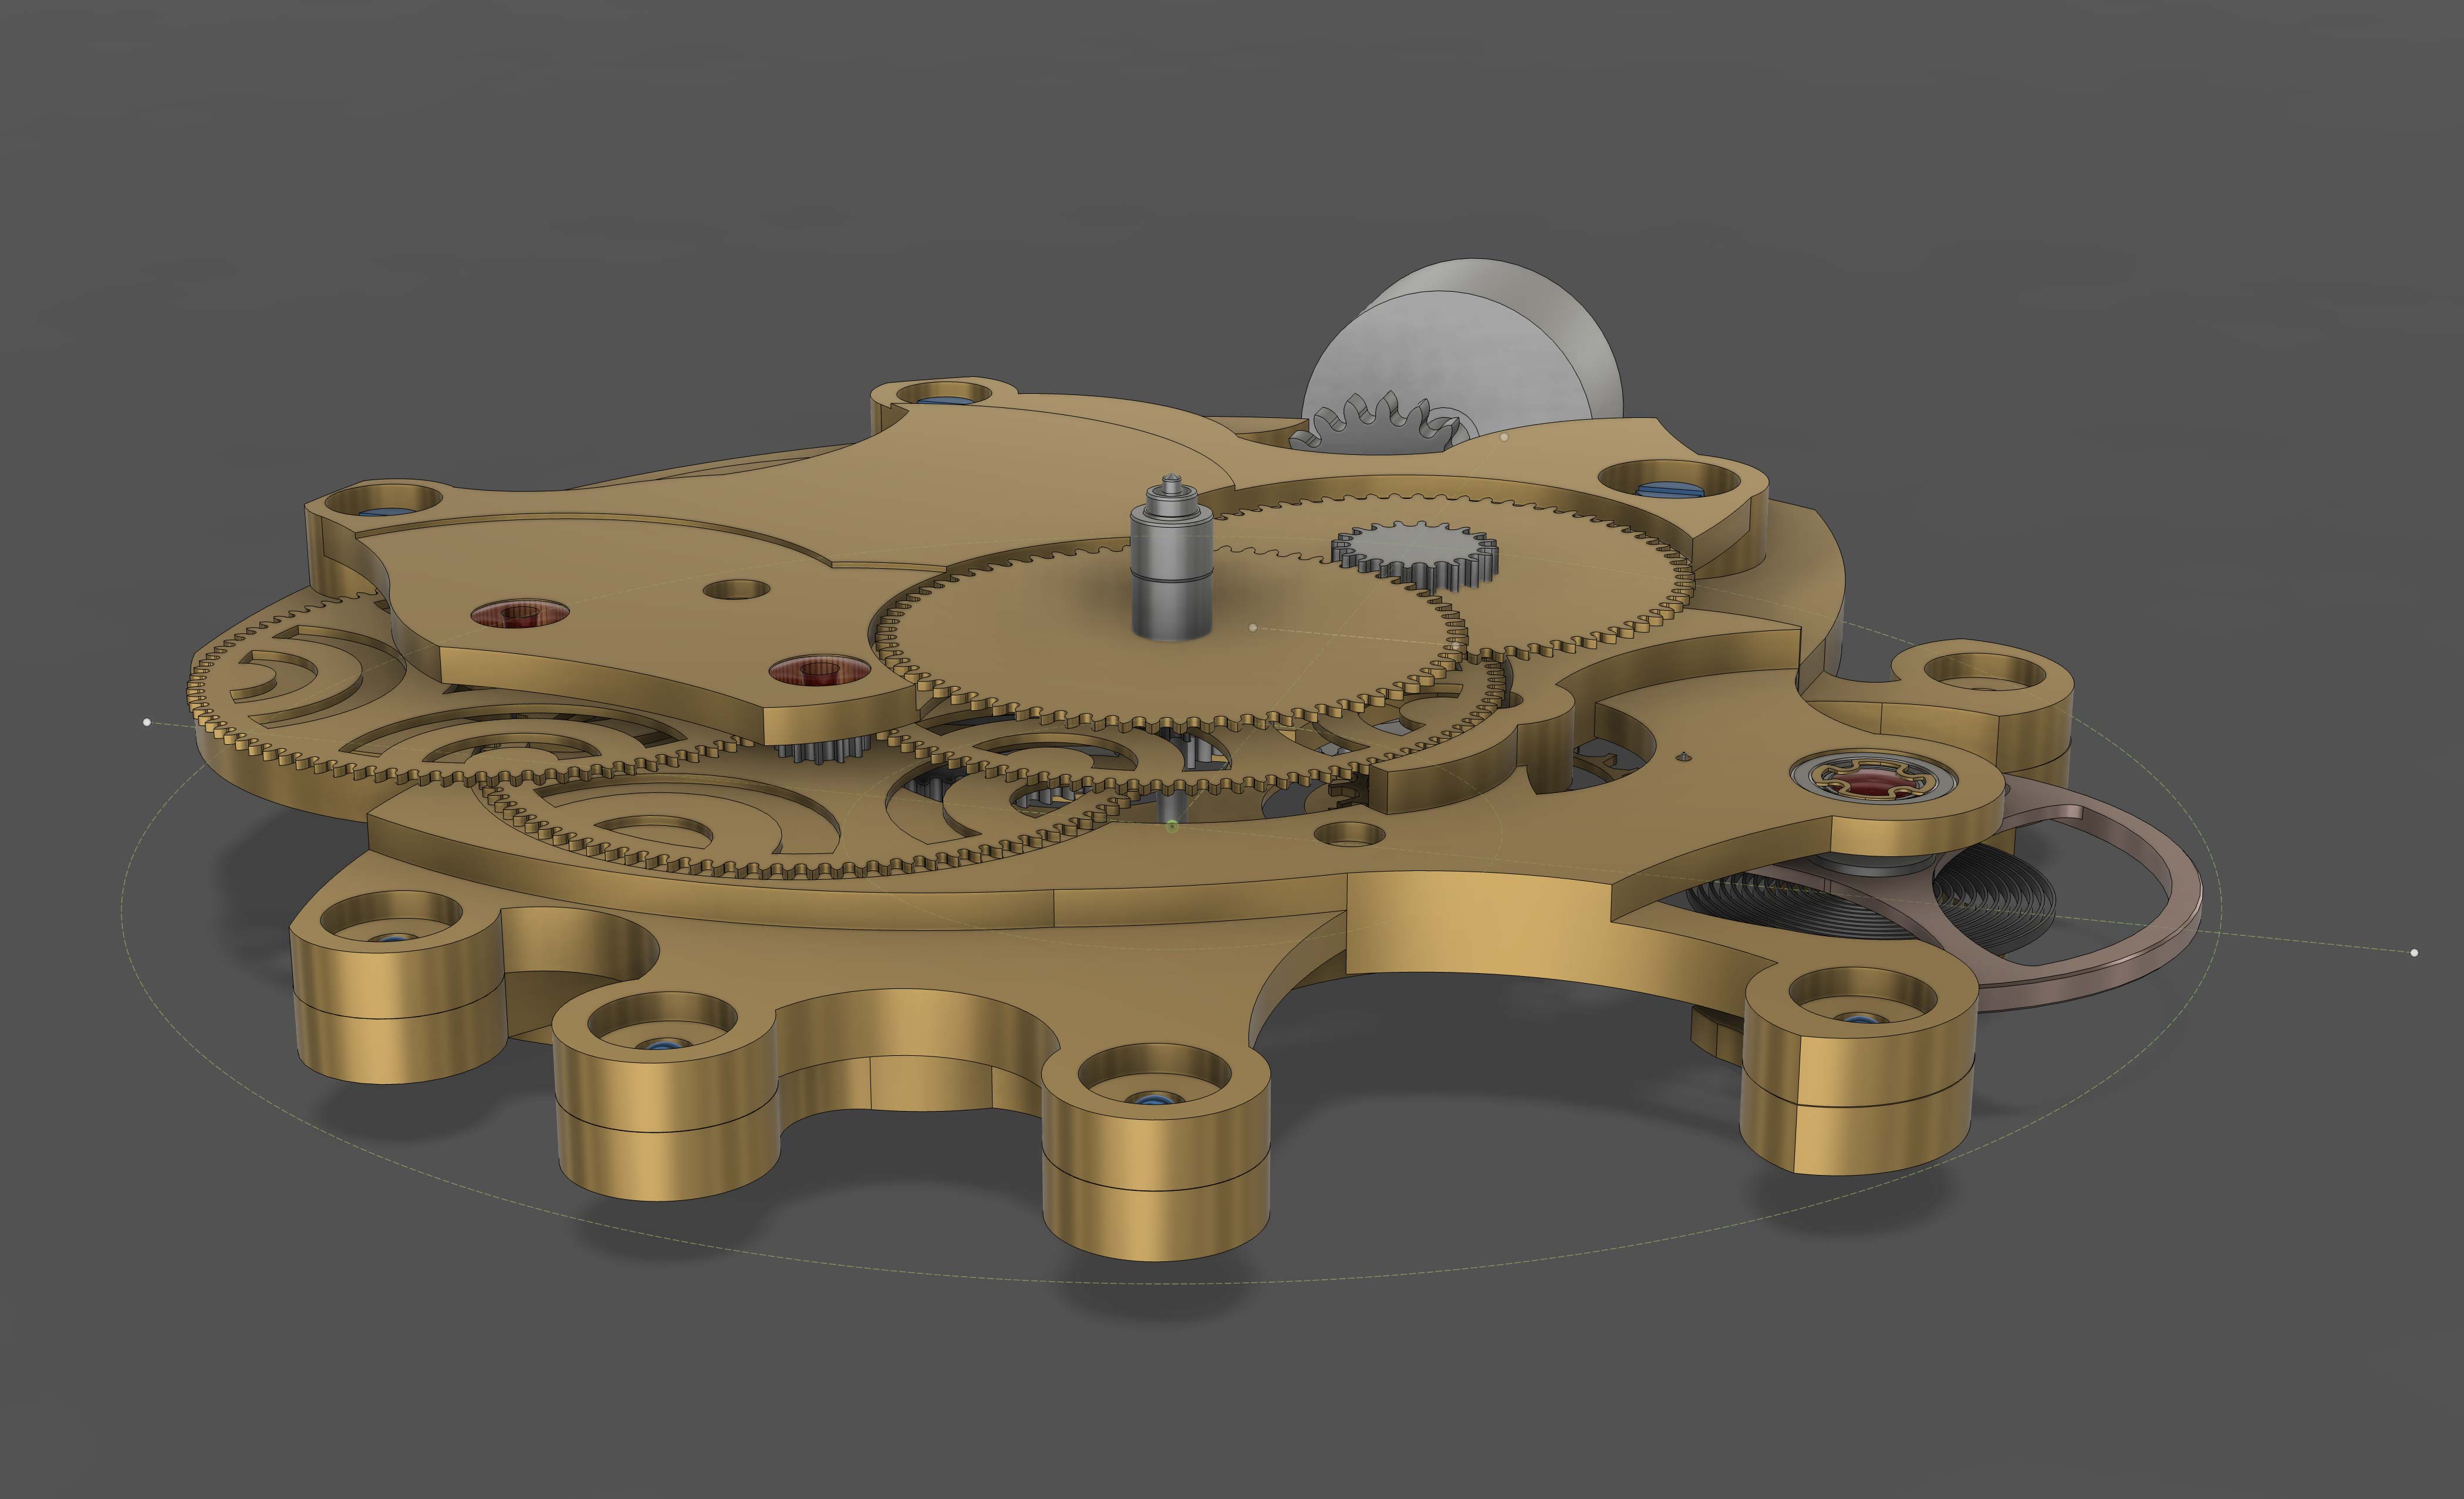
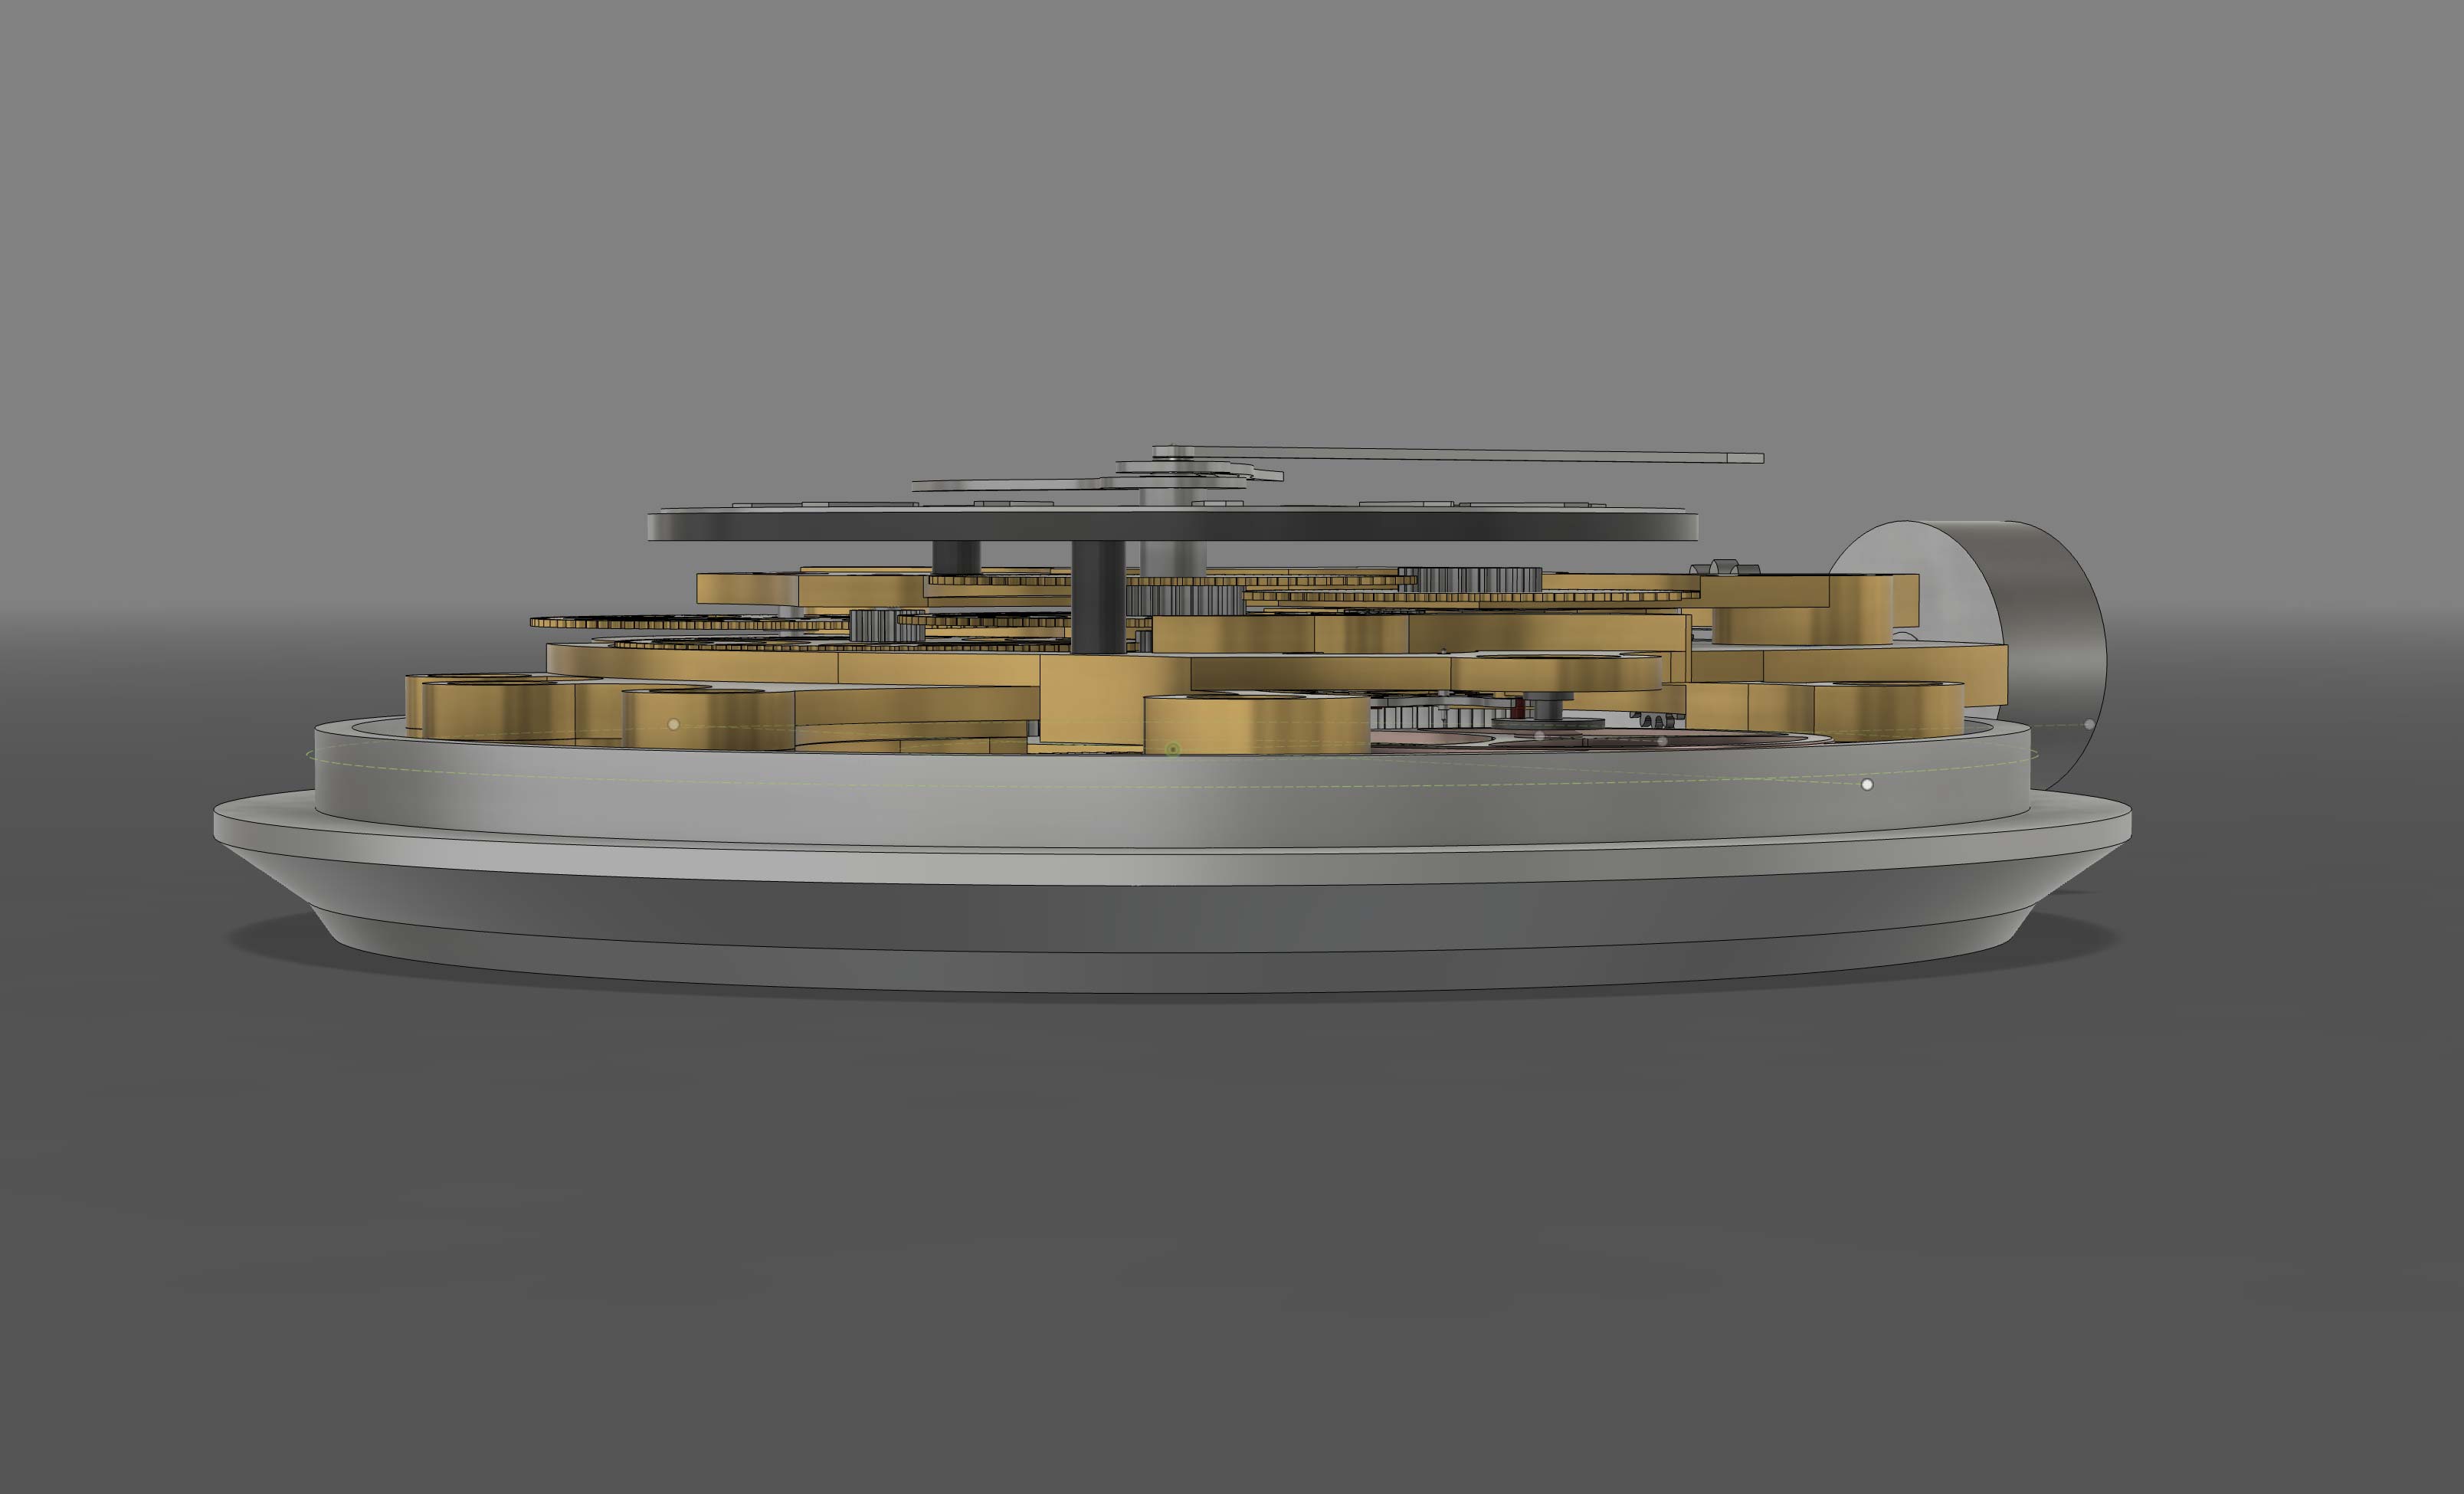
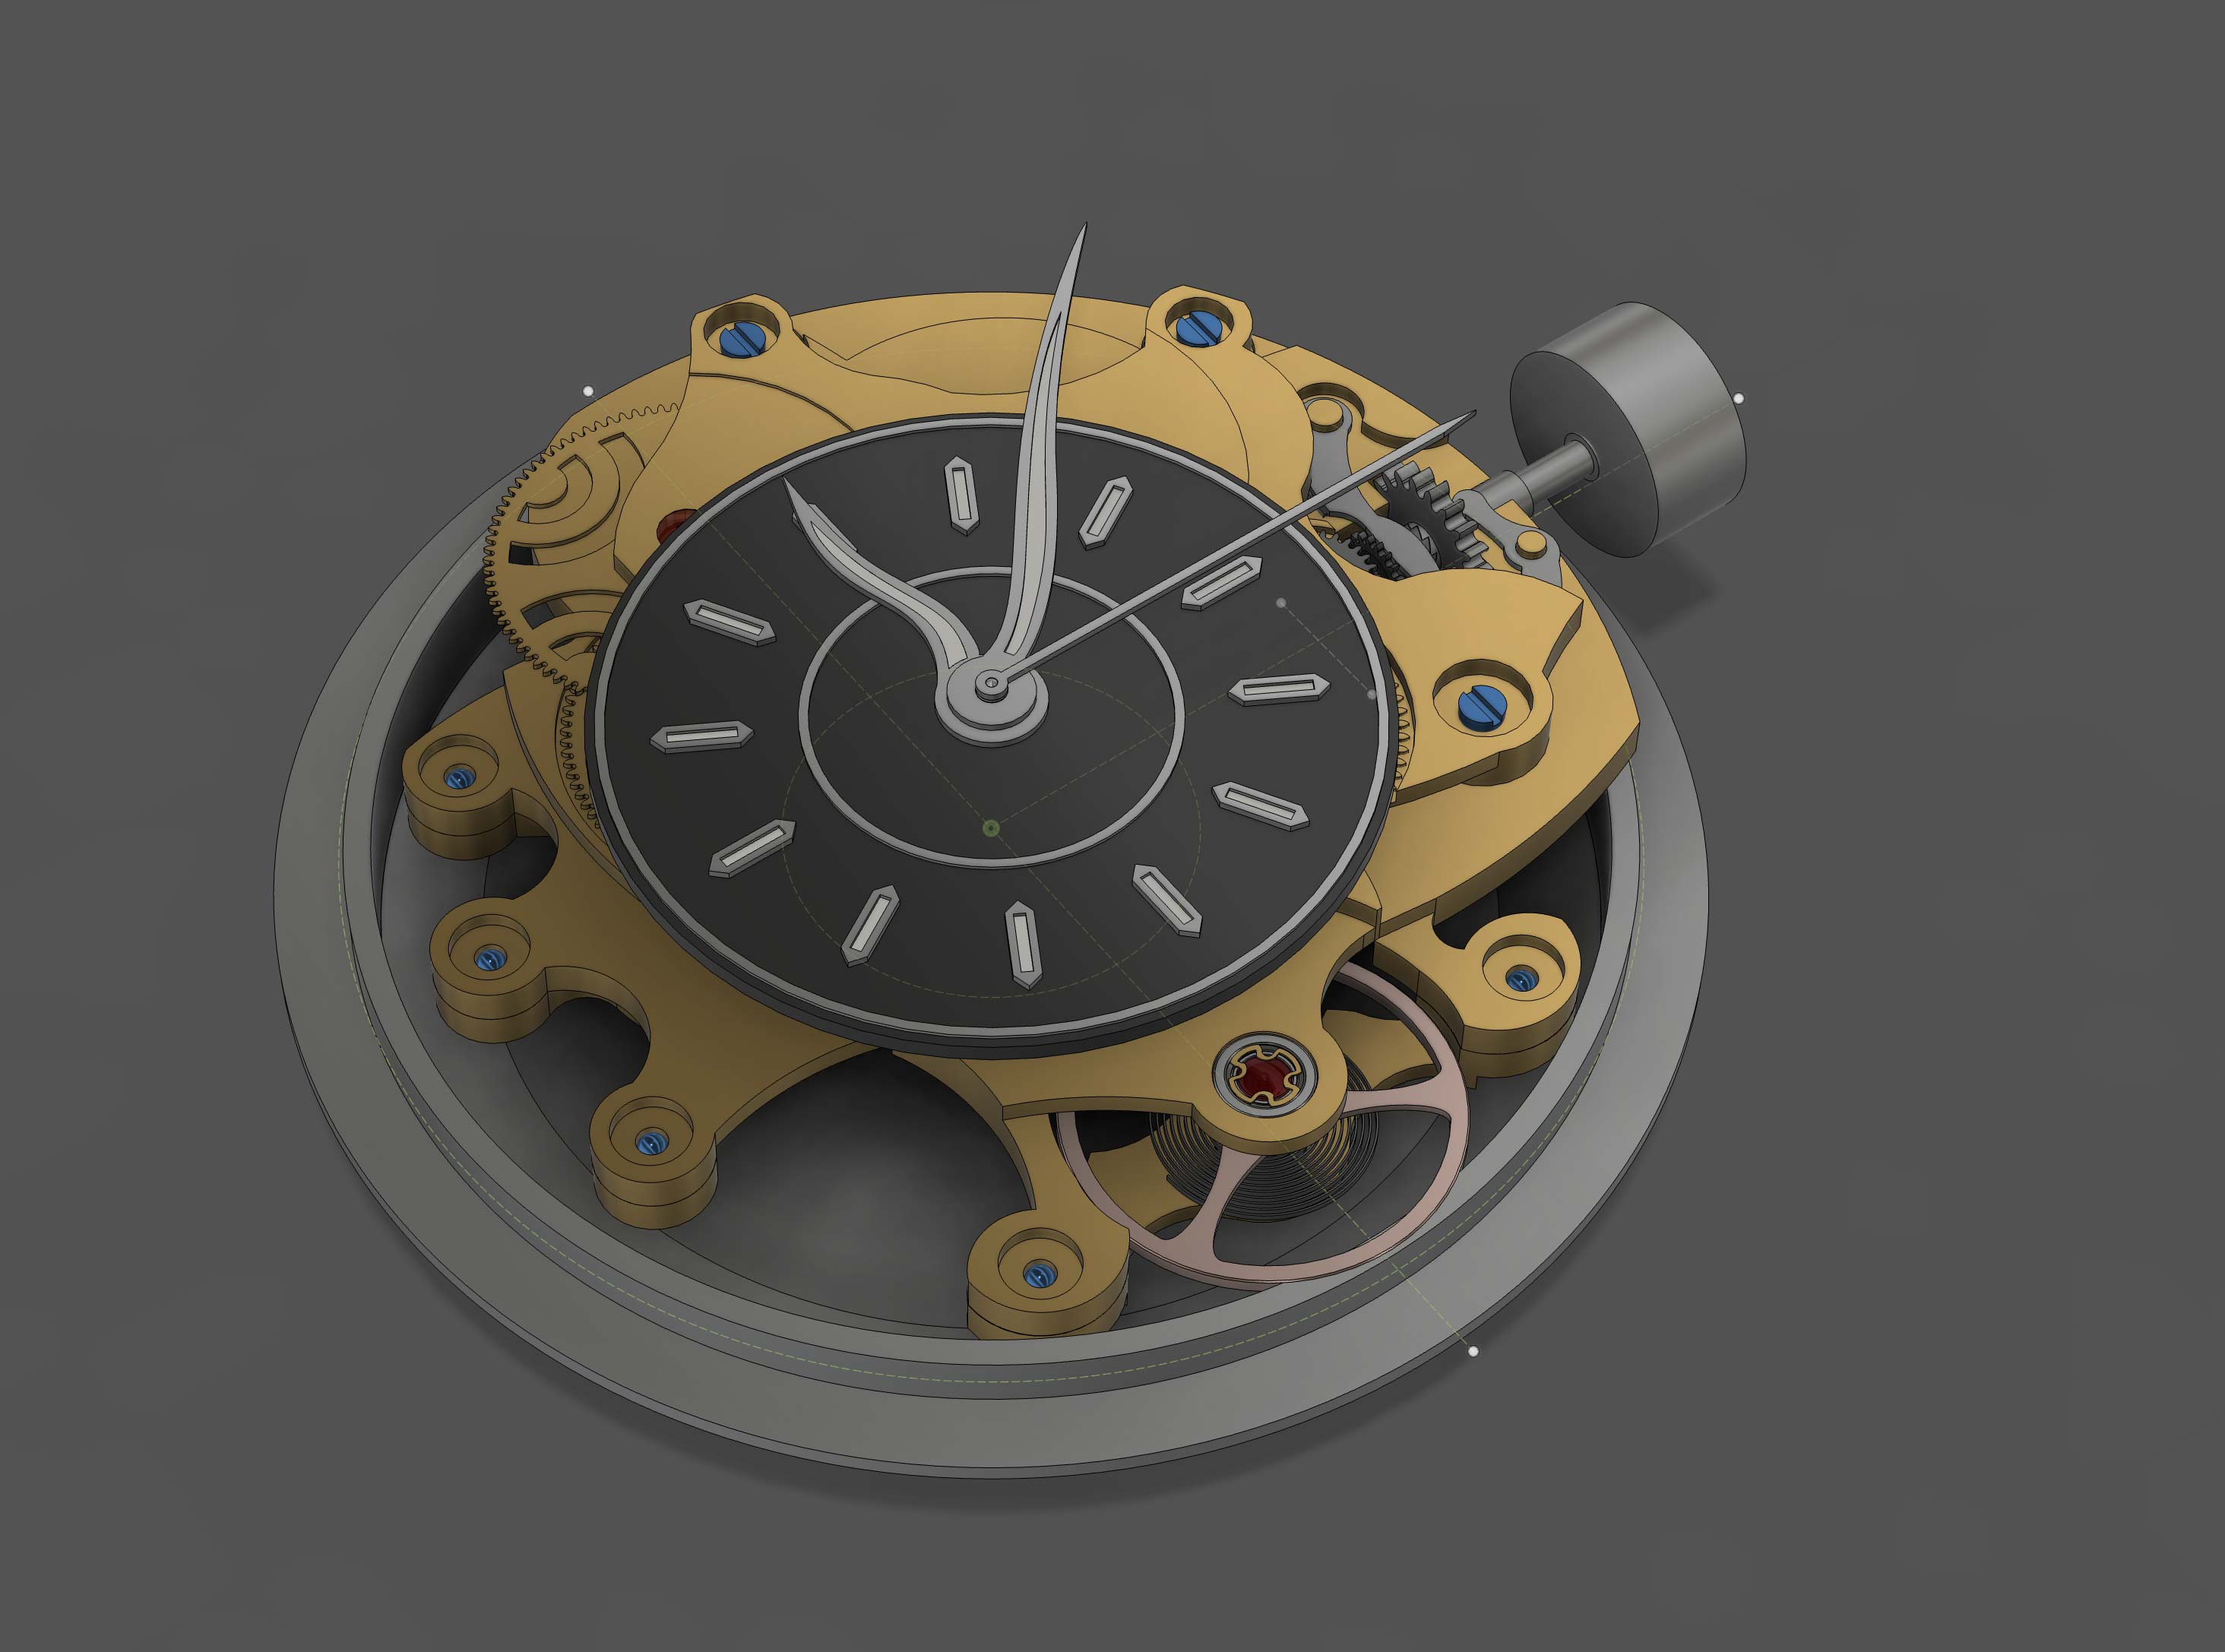
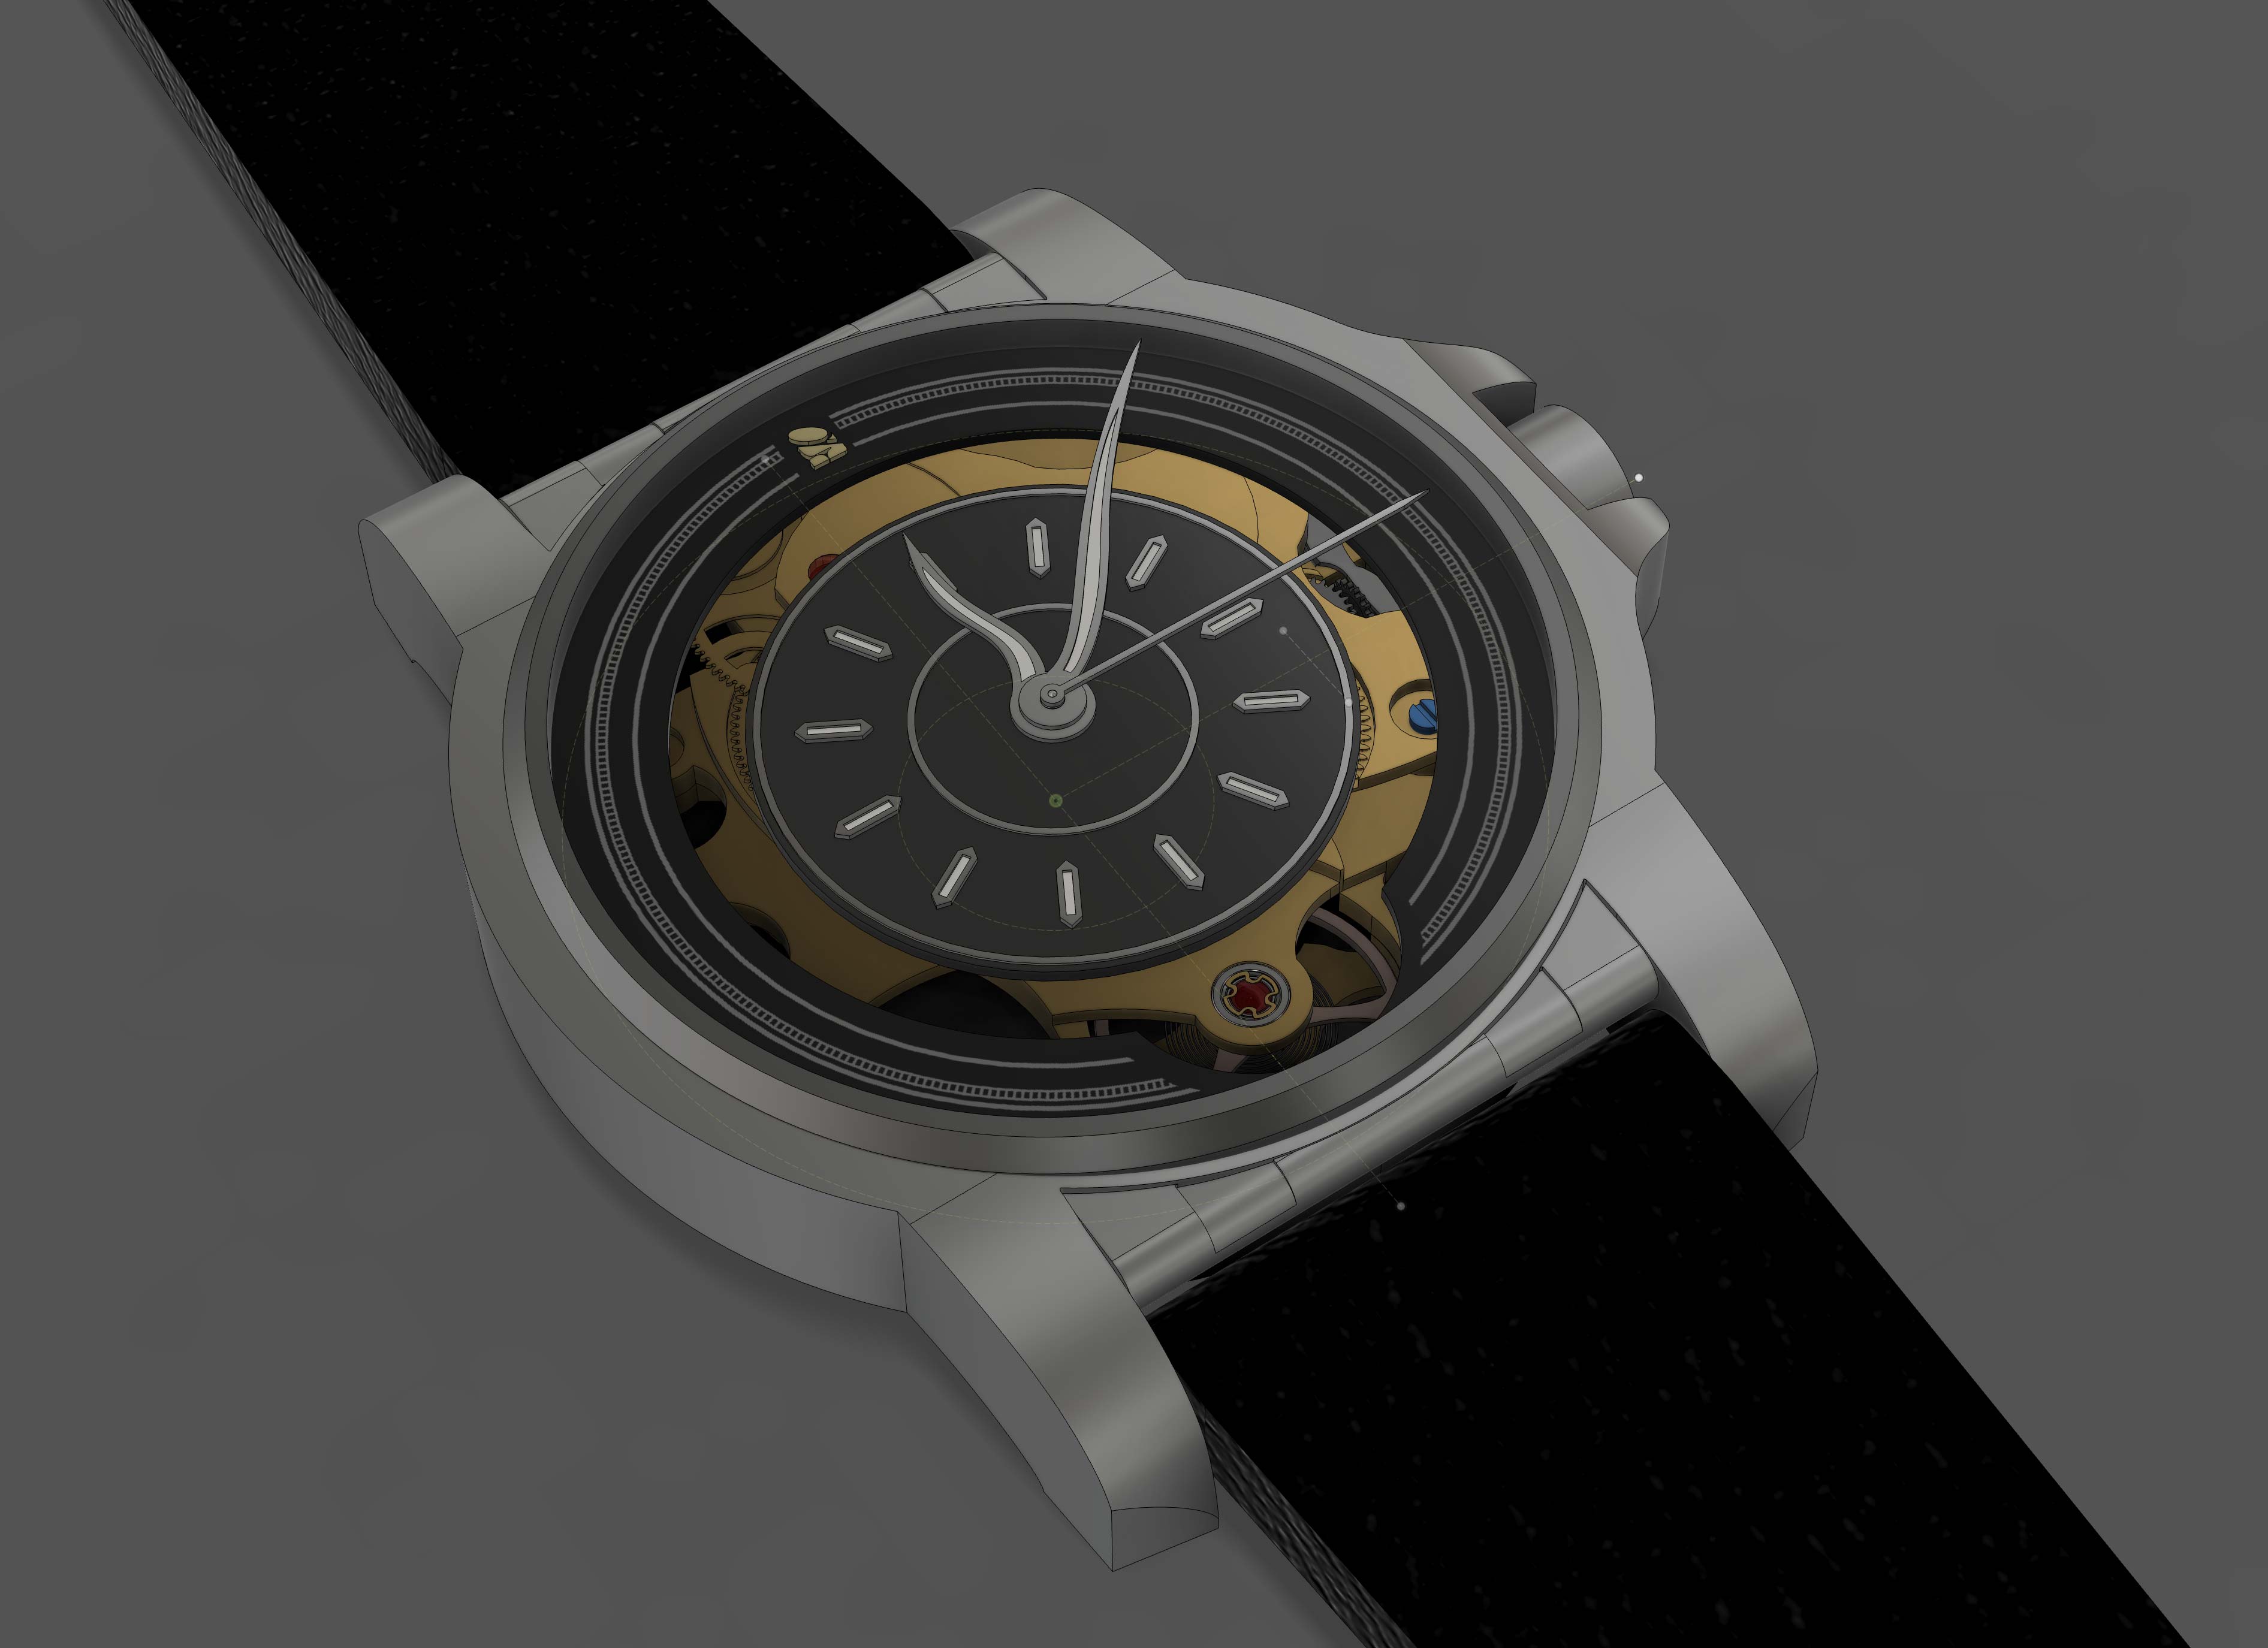
TLDRDesigning bridges is tricky, but progress is happening! 🎉 The challenge is fitting the design into a 32.8mm diameter while keeping it both balanced and visually appealing. Although the first version isn’t perfect, it’s a promising start and there's plenty of room for refinement and creativity ahead.
Show moreShow less
Bridges: A Tough Challenge, but Progress is Here
The bridges have been a real challenge to design! It’s taken a lot of trial and error, and while I now have a very first version, I’ll admit—it’s not perfect yet. I’m not 100% in love with it, but I can already tell it’s going to look awesome once everything comes together. 😊
One of the key constraints I’m working with is a target diameter of 32.8mm. Getting everything to fit within this space while maintaining a balanced and aesthetic layout has been tricky, but I’m making steady progress.
Bridges are such a key element, both structurally and visually, so I’m determined to refine this design further. For now, though, it feels good to have a starting point and to see the movement take another step forward.
Stay tuned as I keep tweaking and improving—there’s still plenty of room for creativity and polish!
TLDRI hit a snag while working on my keyless works design: I realized that having just one intermediate wheel made the sliding part too long. I'm fixing it by adding another wheel and shortening the sliding path, which should enhance the functionality. It's all about learning and tweaking until it clicks! 😊
Show moreShow less
Keyless Works: Learning, Adjusting, and Improving
Today, I continued working on the keyless works, diving deeper into the details and learning more with every step. Along the way, I discovered a mistake in my design that needed fixing: I had planned for just one intermediate wheel, which made the stem’s square sliding part way too long!
To solve this, I’ll be splitting the design into two intermediate wheels tomorrow and shortening the sliding path. This adjustment should improve the overall functionality and bring everything into better alignment. 😊
It’s all part of the journey—learning, refining, and iterating until it works perfectly. Stay tuned as I put this new plan into action and keep moving forward!
TLDRSpent the day polishing the yoke, spring, bridge, and covers—it's all about those smooth finishes and sharp details. Tomorrow's plan: tackle the two wheels that link the sliding pinion to the minute wheel. Staying pumped and keeping the momentum rolling! 😊
Show moreShow less
Polishing Progress and Next Steps
Today, I focused on polishing the yoke, spring, bridge, and covers. It’s rewarding to see these components take shape with smooth finishes and precise details. 😊
Tomorrow, I’ll tackle the two wheels that will connect the sliding pinion to the minute wheel—excited to keep the momentum going!
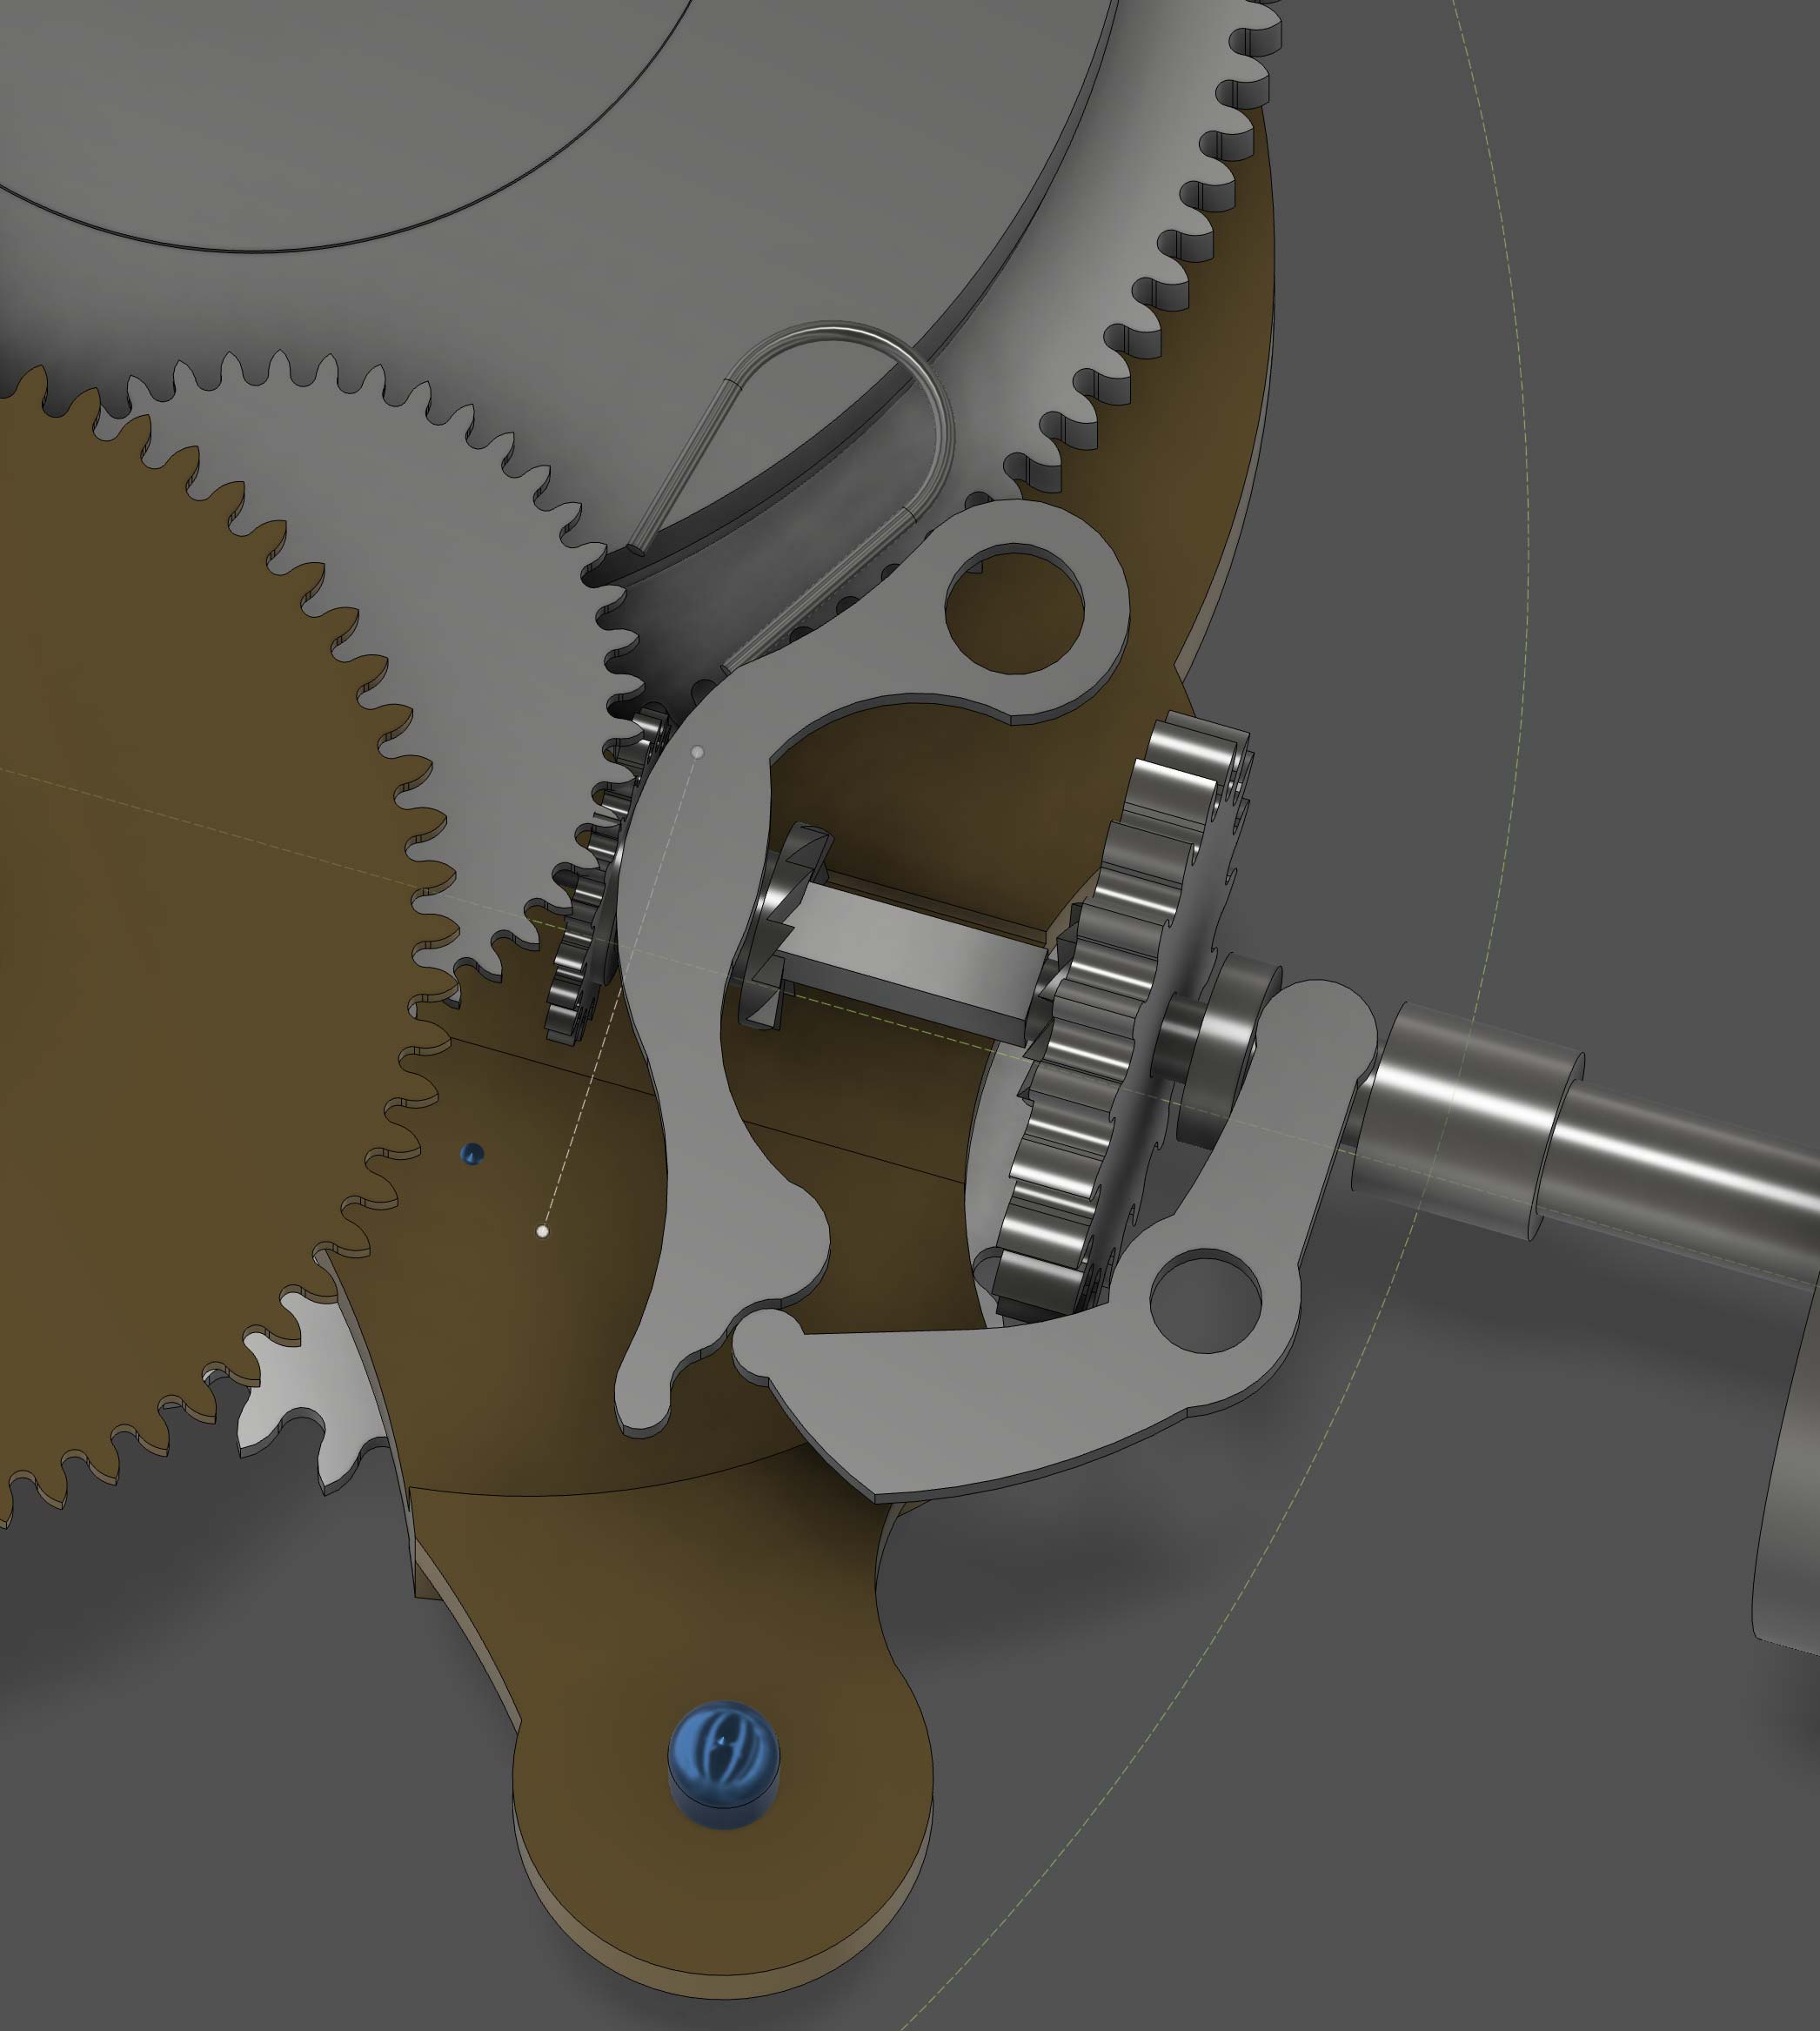
TLDRTough day in the workshop—I'm struggling to get the keyless works, particularly the sliding pinion and intermediate hand, to align and function properly with the minute wheel. It’s proving more complex than expected, and while it’s frustrating, I’m taking a step back to rethink and research. If anyone’s got advice, I’m all ears; it’s a reminder of how watchmaking keeps you humble and always learning. 😅
Show moreShow less
Keyless Works Woes: A Frustrating Roadblock
Today has been one of those days—crap and frustrating. 😩 I’ve hit an issue with the keyless works, and it’s proving to be a tricky one. The problem lies in joining the sliding pinion with the intermediate hand that connects to the minute wheel to set the time.
On paper, it seemed straightforward, but in practice, the alignment and engagement between these components just isn’t working as planned. I’ve tried a couple of approaches, but nothing has clicked yet. It’s one of those challenges where you know there’s a solution—it’s just frustratingly out of reach for now. 😤
I’ll take a step back, regroup, and do some more research to figure out the best way to address this. It’s moments like these that test your patience, but they’re also opportunities to learn and grow. Hopefully, tomorrow brings some fresh ideas and a way forward!
If anyone has tips or insights, I’d love to hear them. For now, it’s time to step away and clear my head. Watchmaking sure knows how to keep you on your toes! 😅
TLDRI'm making headway on the winding mechanism by perfecting the top part's polish and experimenting with materials that balance durability and aesthetics. The next challenge is figuring out the crown gears for the sliding pinion, but I'm ready to tackle it with some research and trial-and-error. Progress is slow but rewarding, so stay tuned for more updates! 😊
Show moreShow less
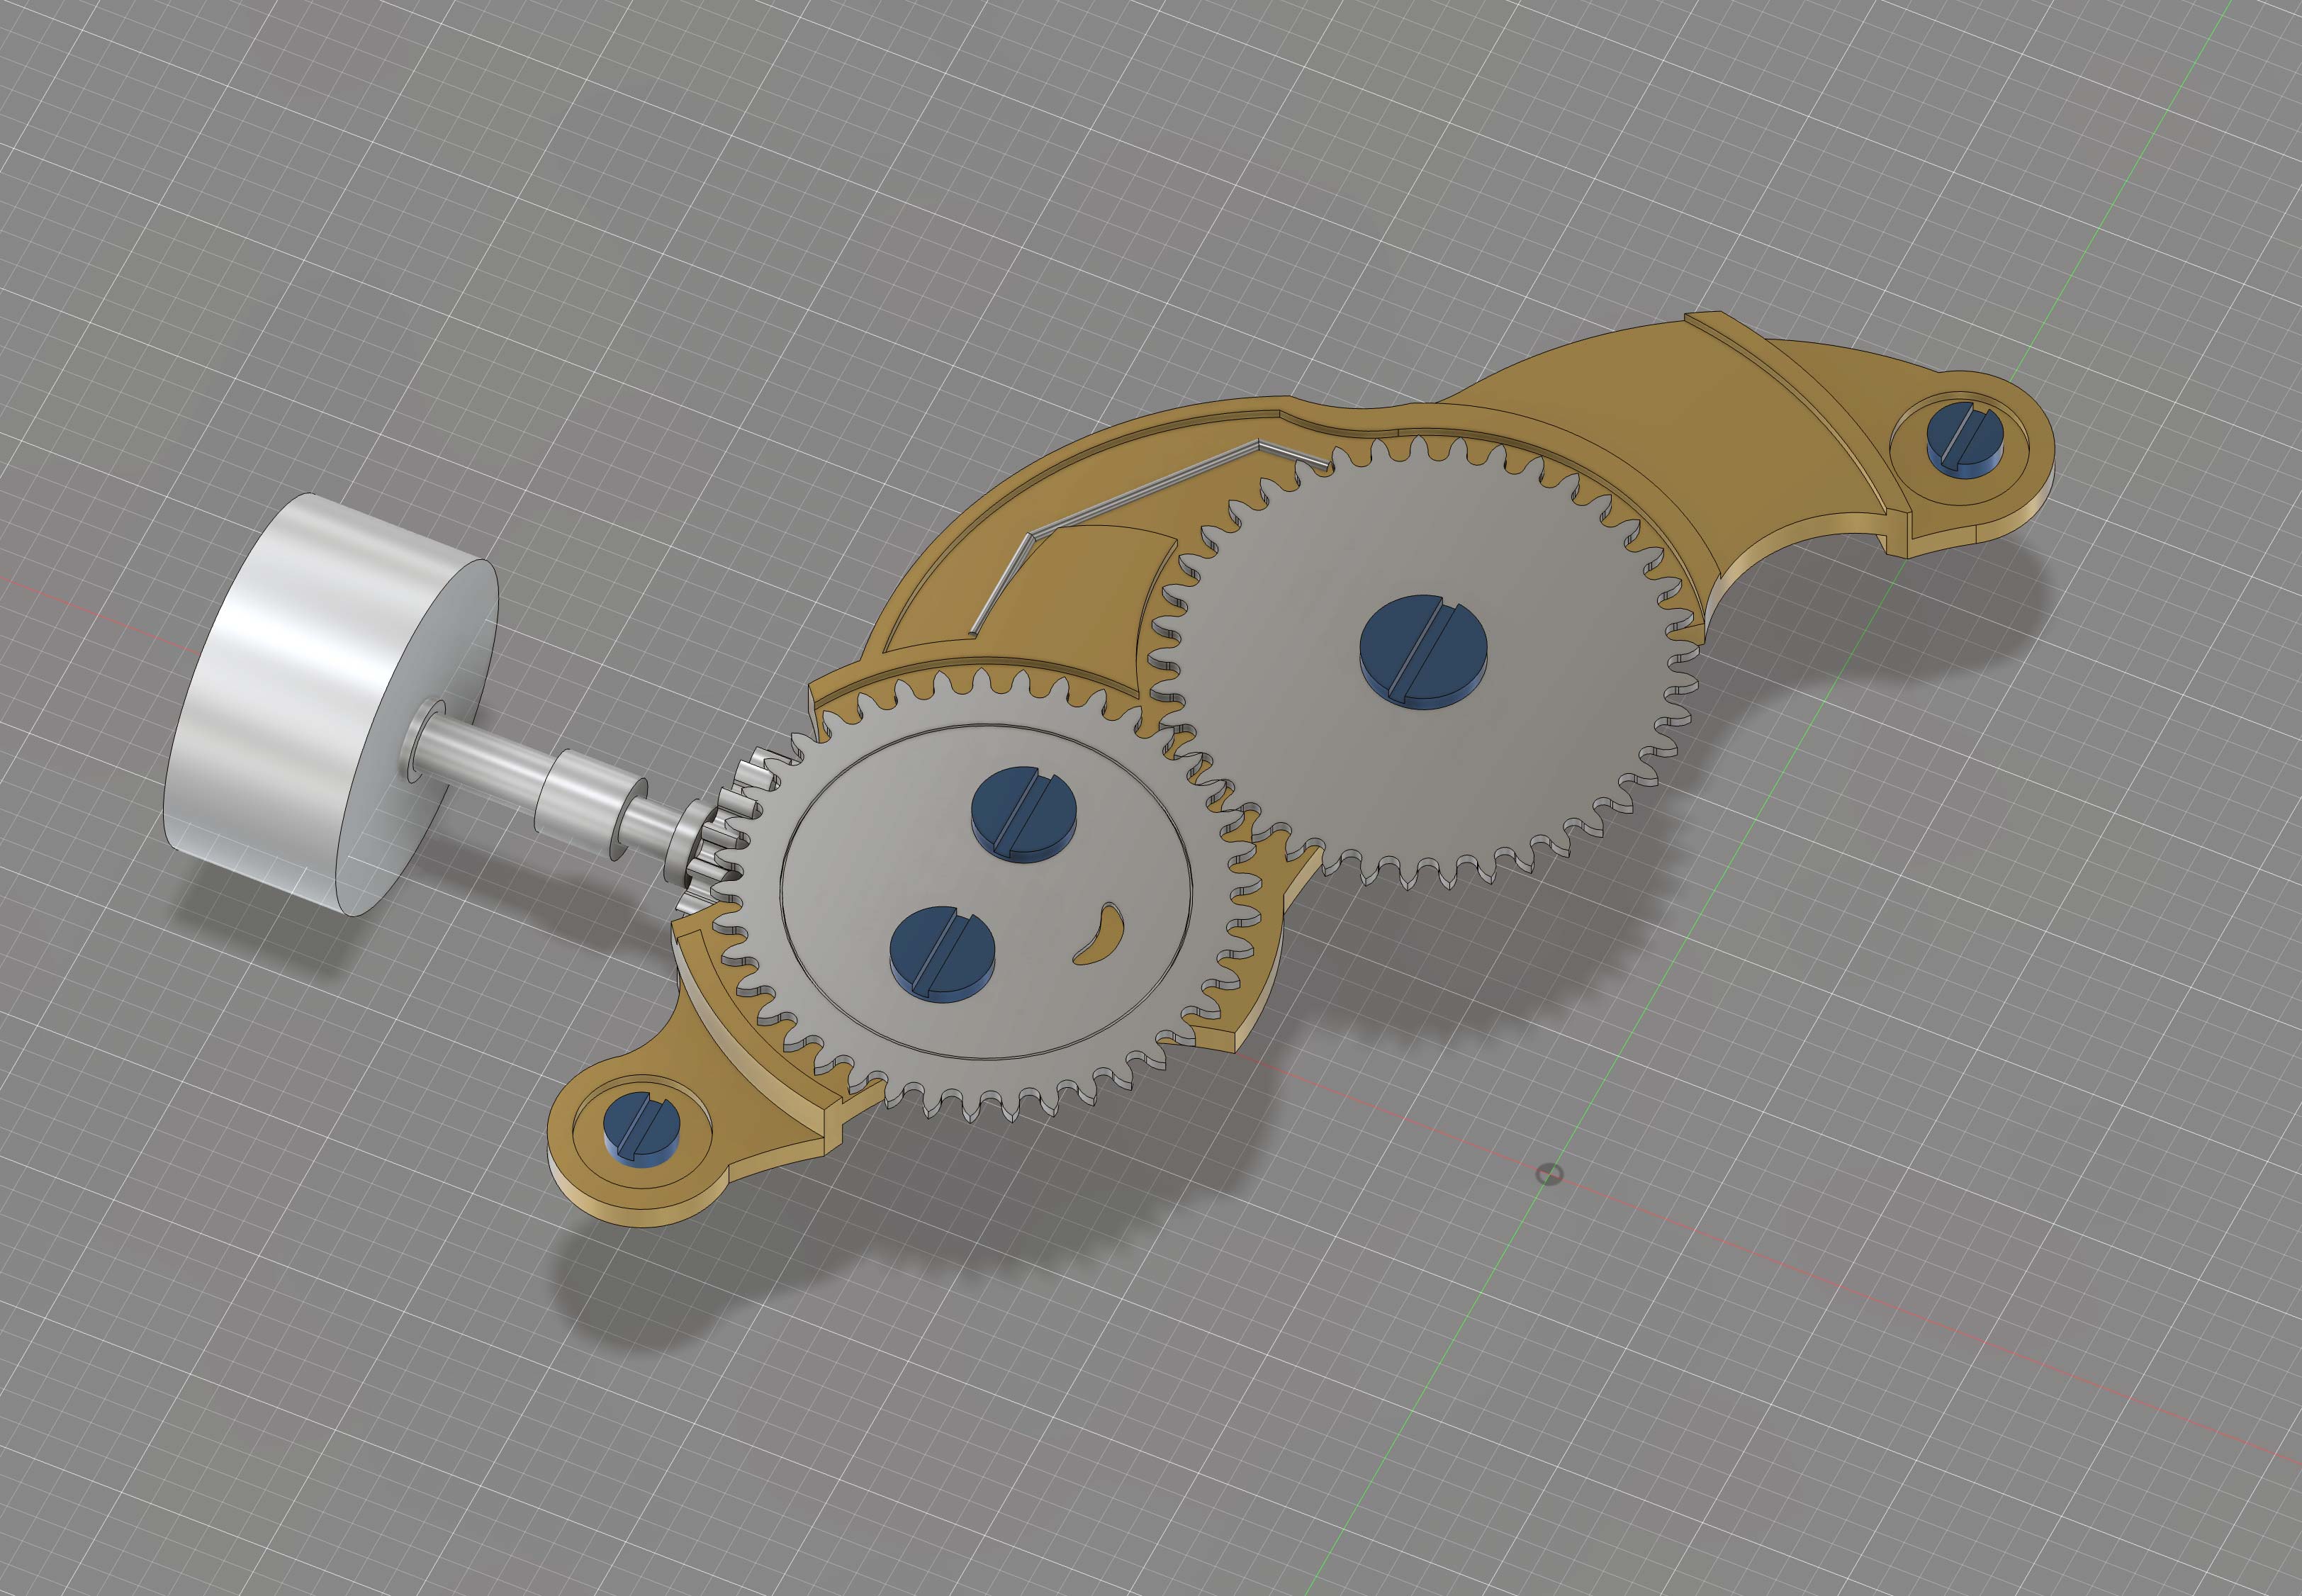
Progress on the Winding Mechanism
Today, I’ve been focusing on polishing the top part of the winding mechanism. It’s coming together nicely, and seeing the refined surfaces start to shine is always satisfying. 😊
Alongside the polishing, I’ve been trying out different materials to find the perfect balance between durability, machinability, and aesthetics. Each material brings its own set of challenges and opportunities, and it’s exciting to explore how they perform in such a precision-dependent component.
That said, there’s one key part left to tackle: the crown gears for the sliding pinion. I’ll admit, I’m not entirely sure how to approach those yet. It’s a new challenge I’m eager to dive into, and I’m confident I’ll figure it out with some research and experimentation.
Progress may be slow, but every step forward is a rewarding part of the journey. Stay tuned as I tackle the final pieces and continue refining this essential mechanism!
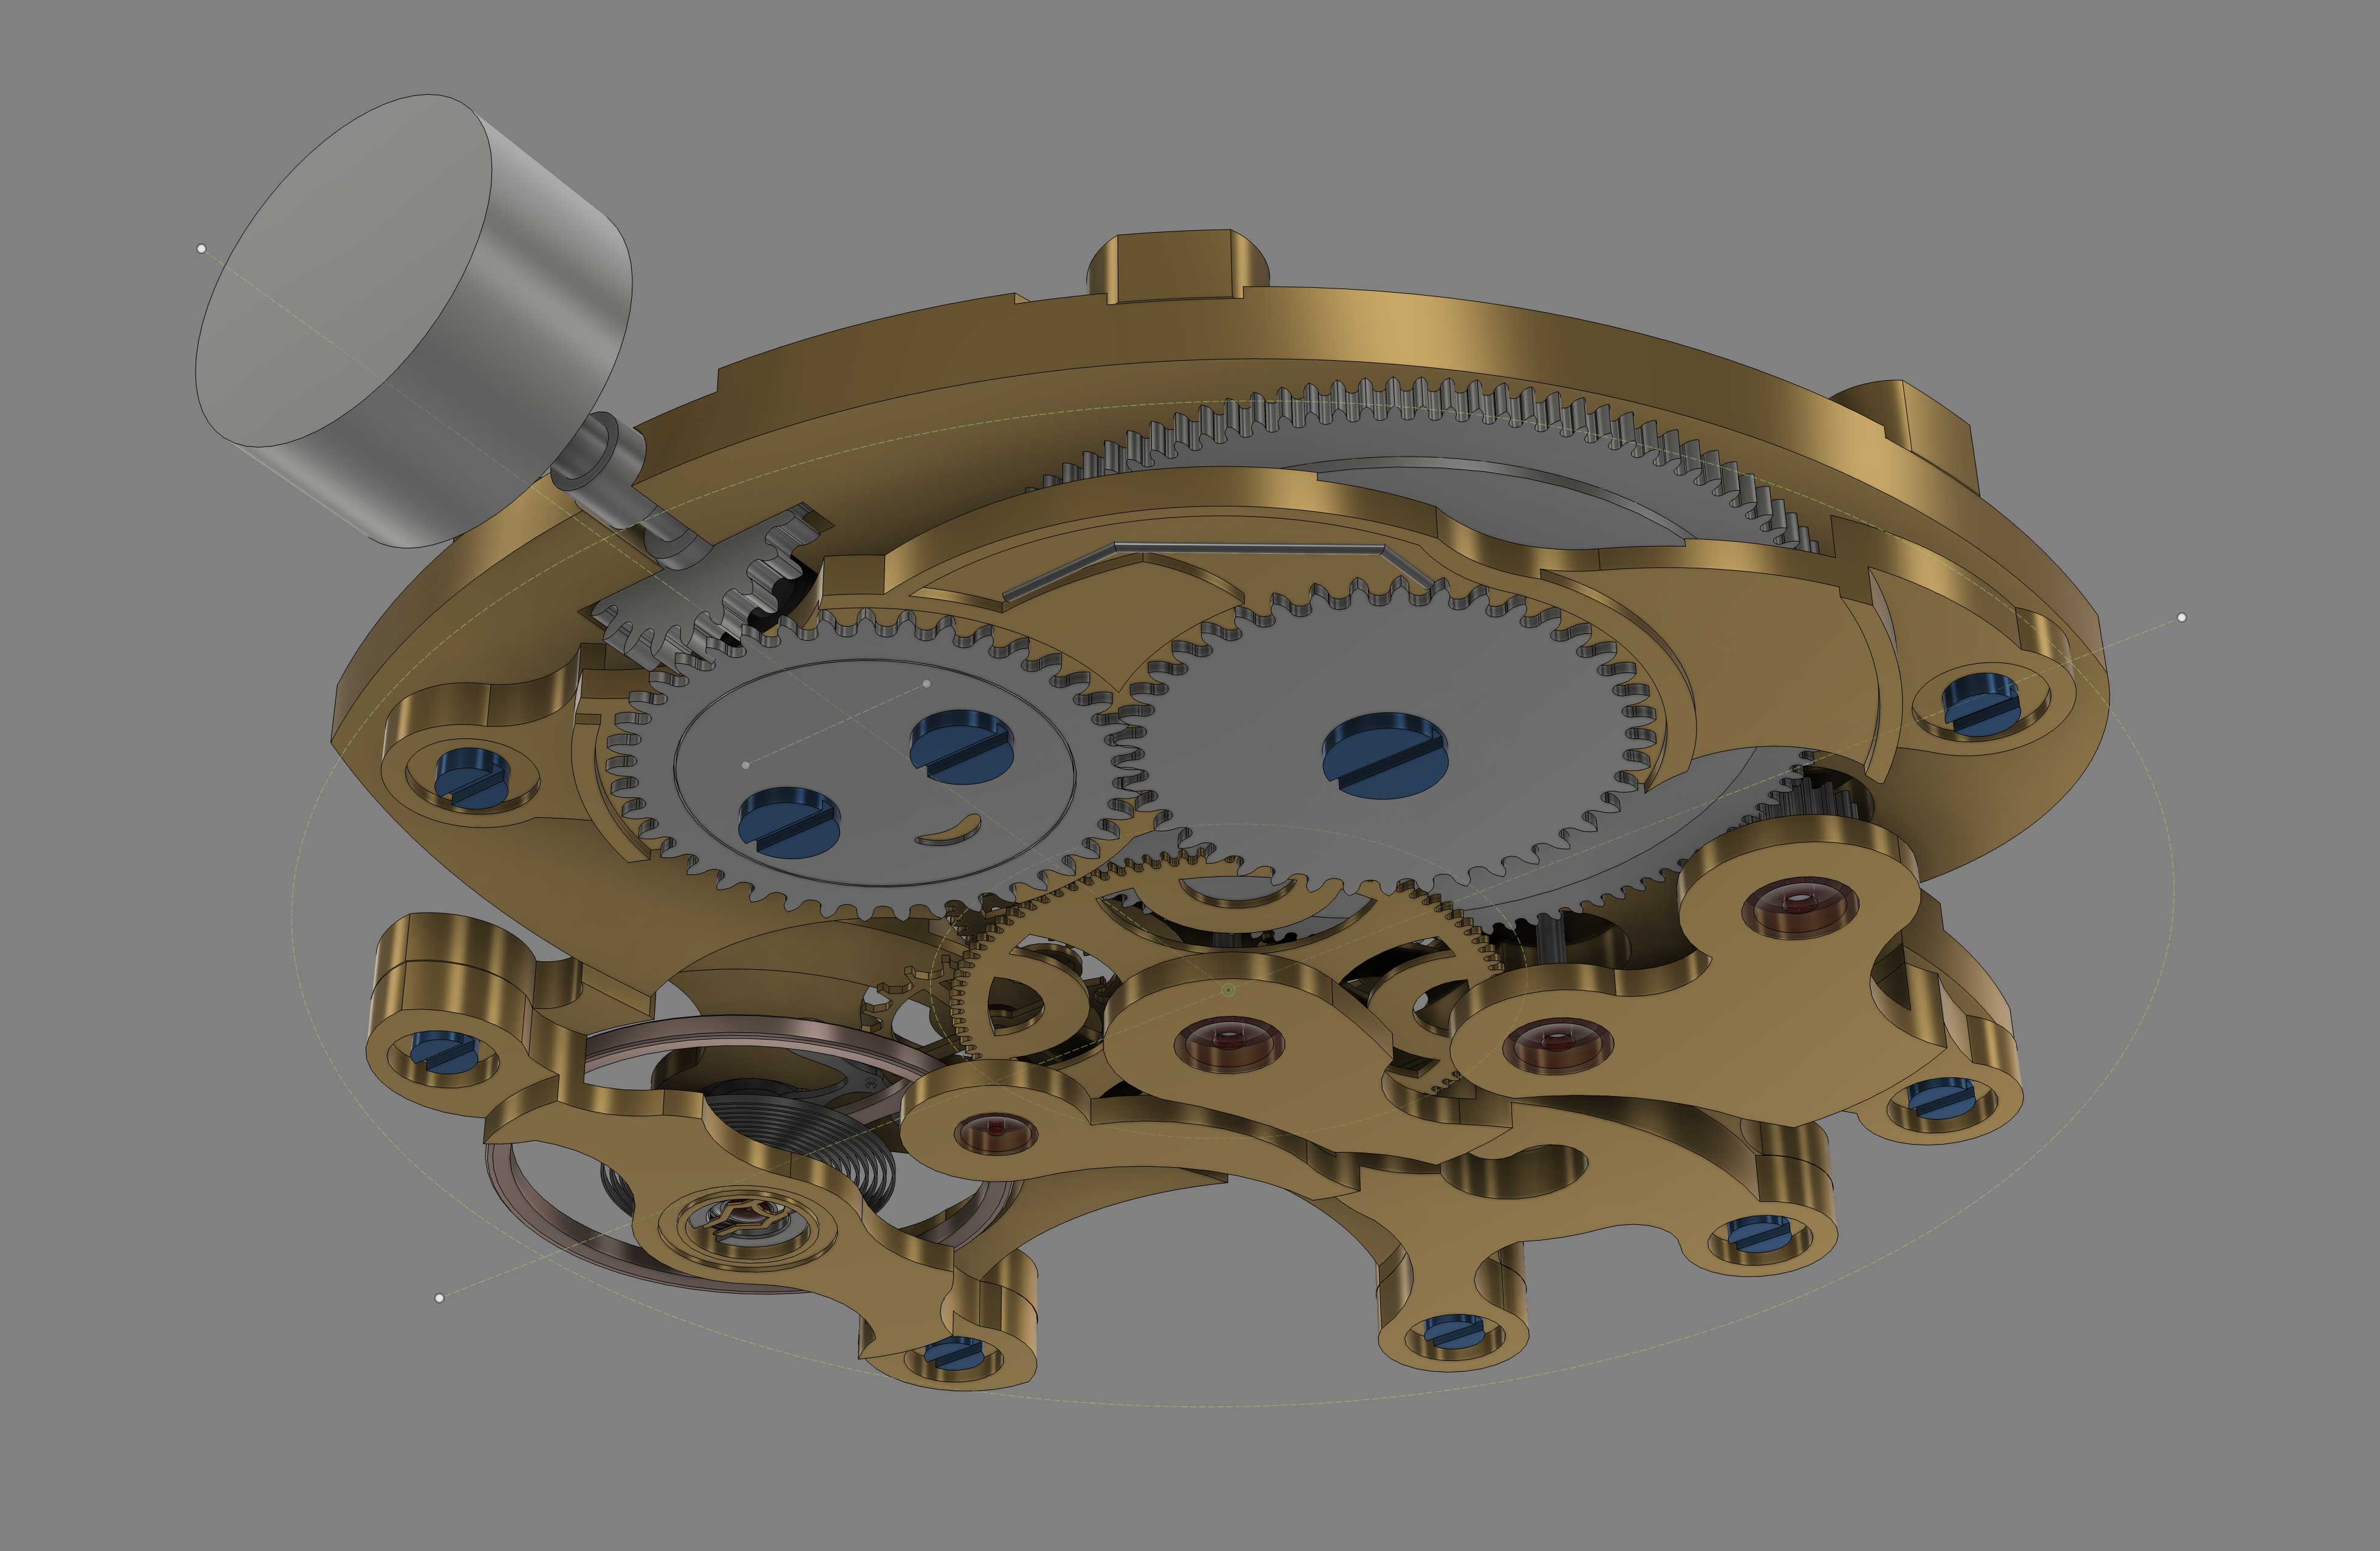
TLDRToday's focus was on the winding and sliding pinions, crucial for smooth watch movement. The winding pinion transfers motion to the mainspring, while the sliding pinion switches between winding and setting the time. It’s a meticulous task where every tiny detail counts, emphasizing the precision and craft of watchmaking. 😊
Show moreShow less
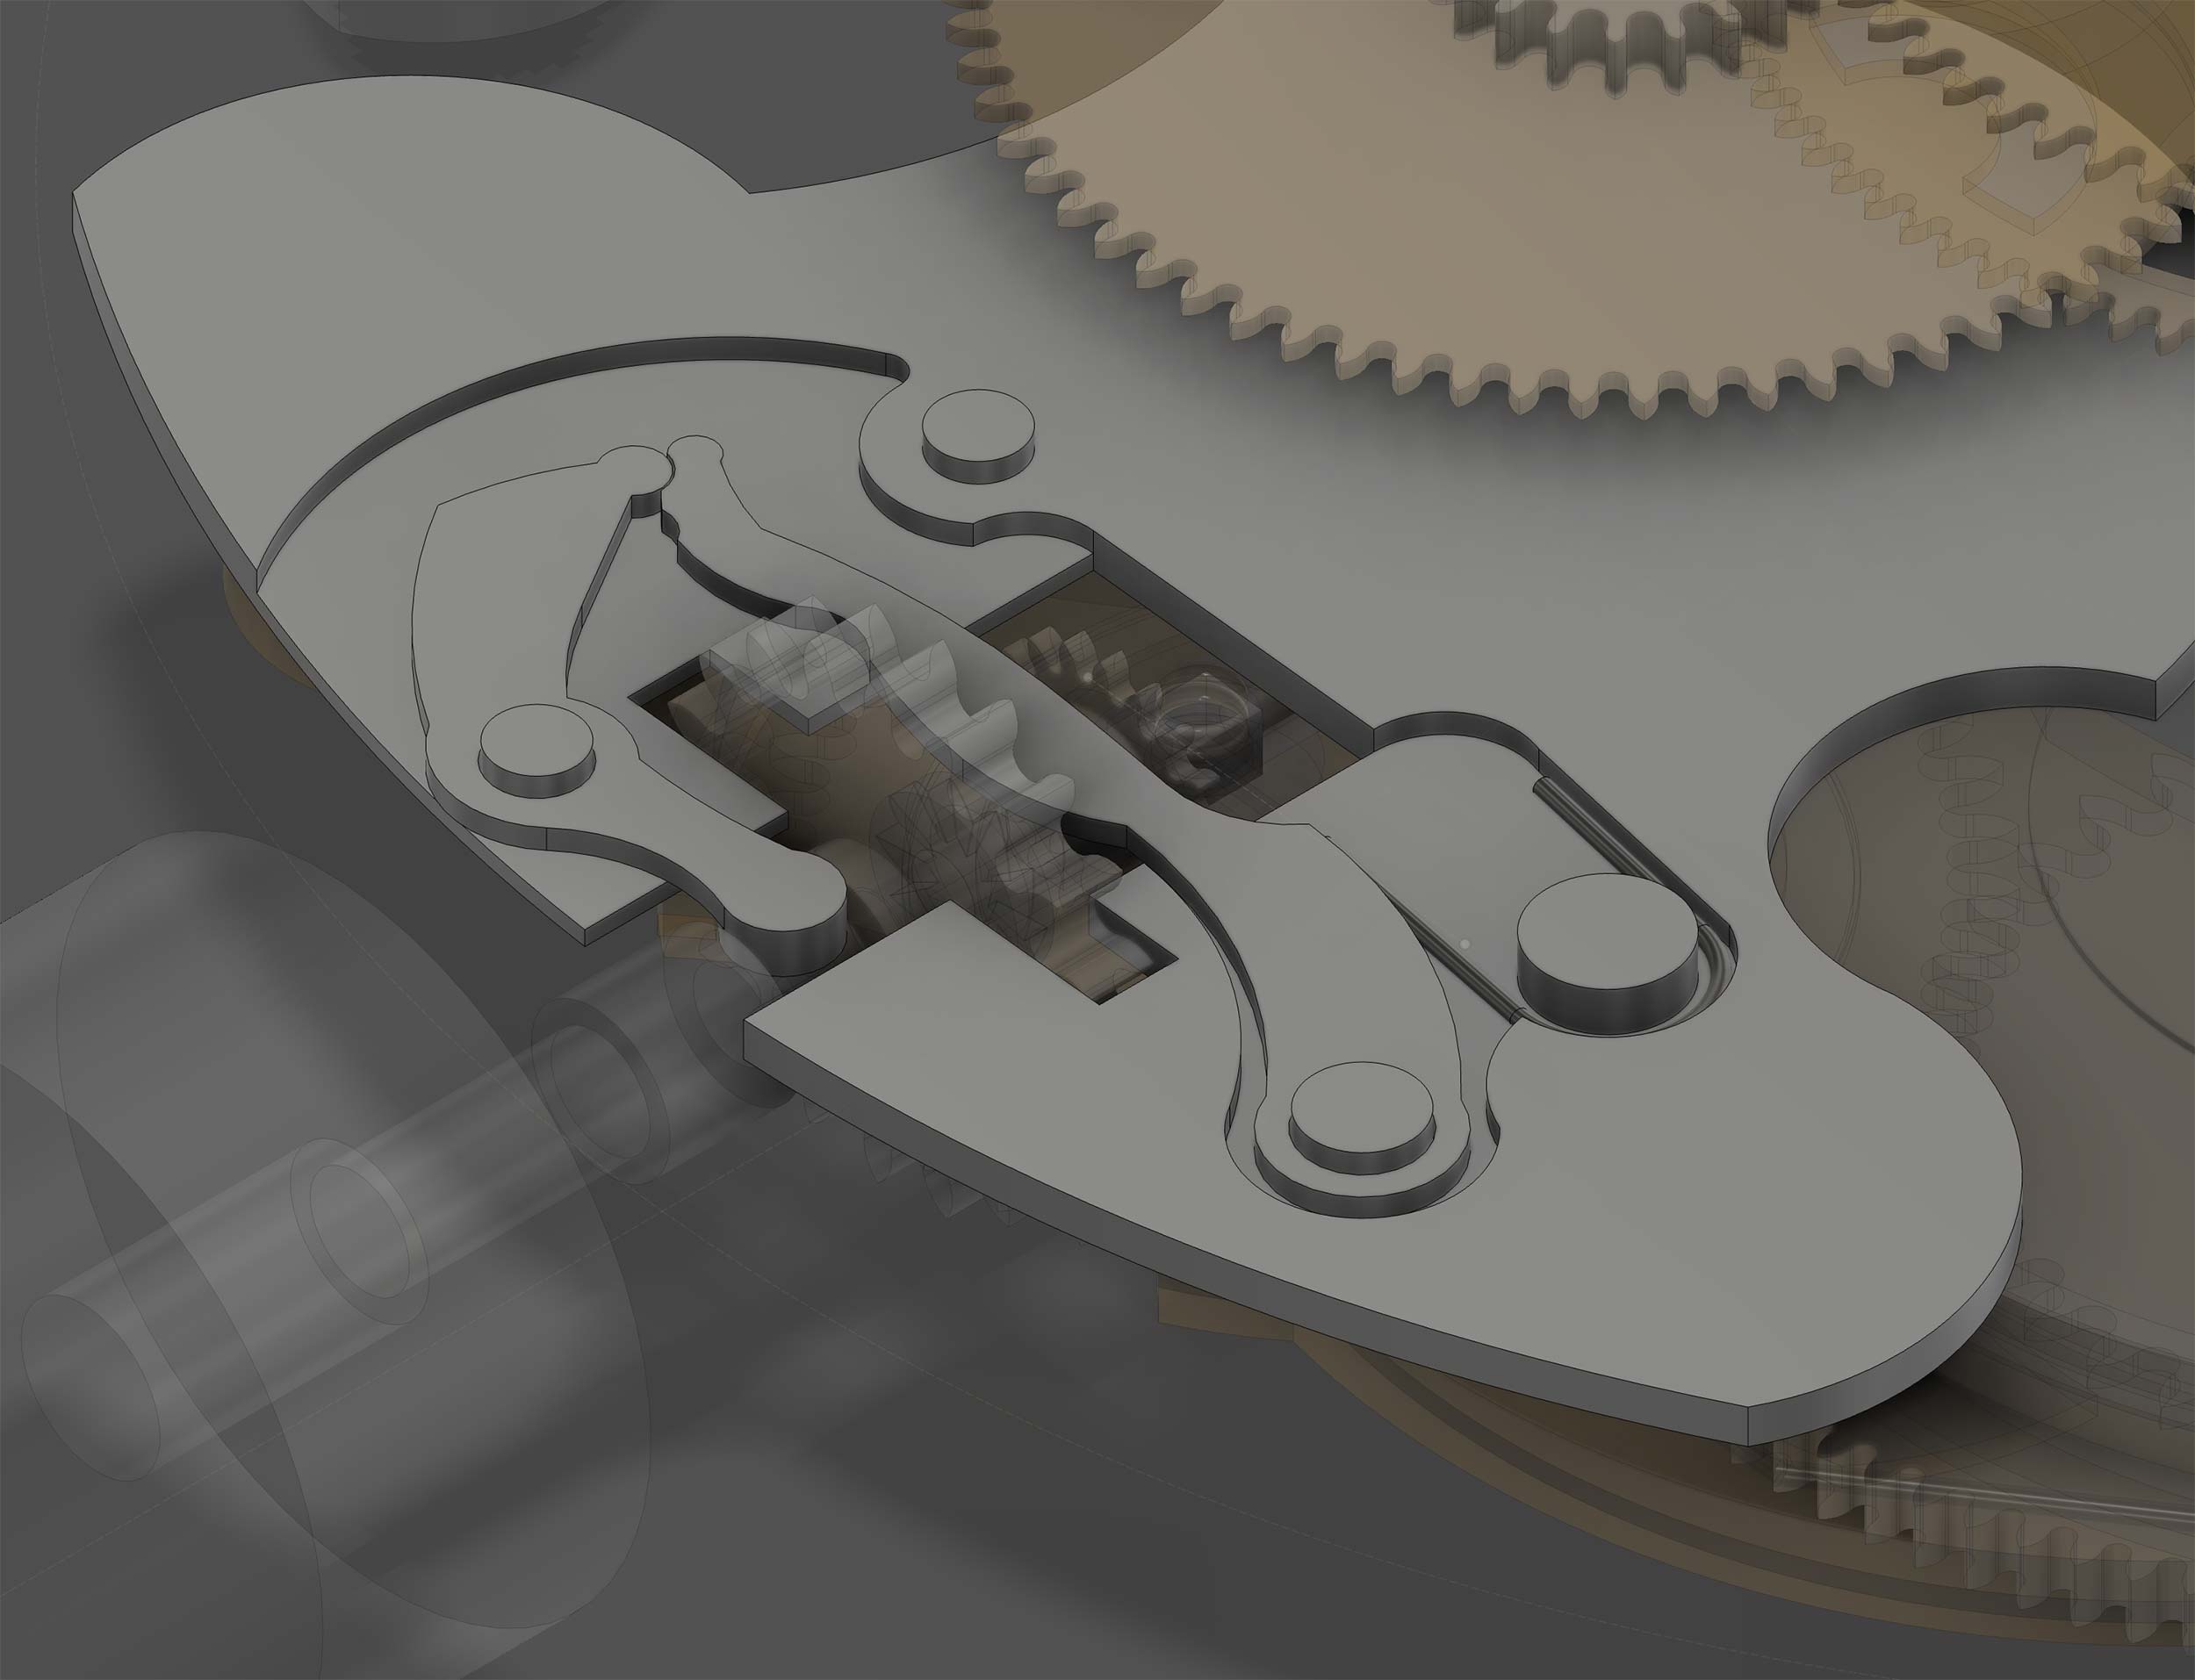
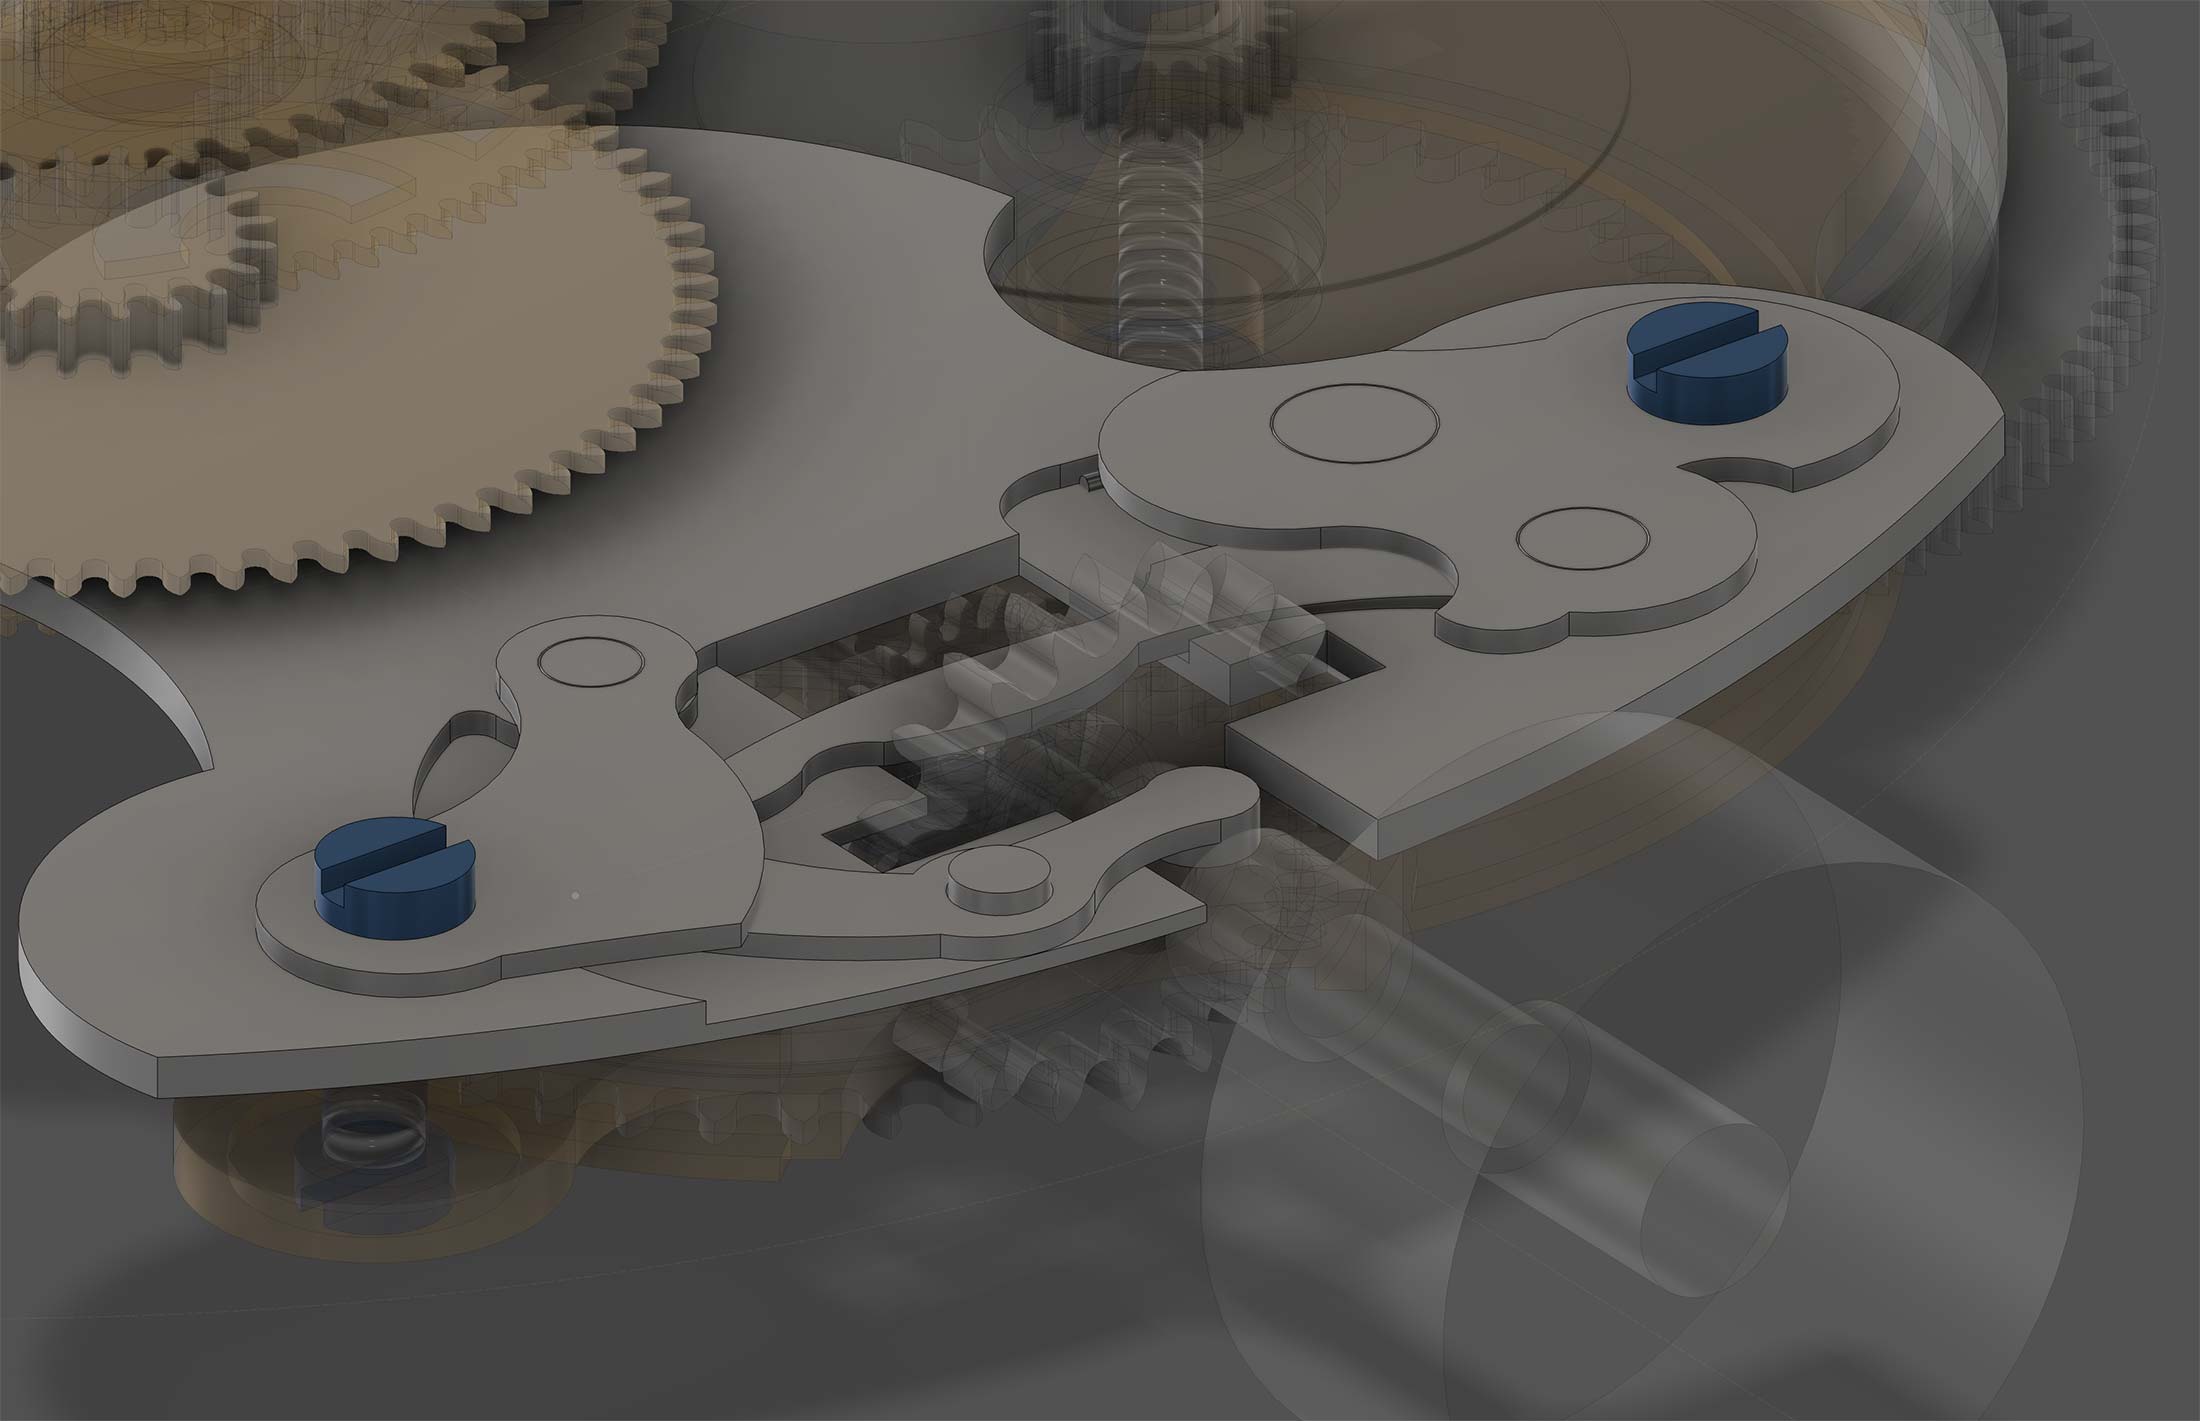
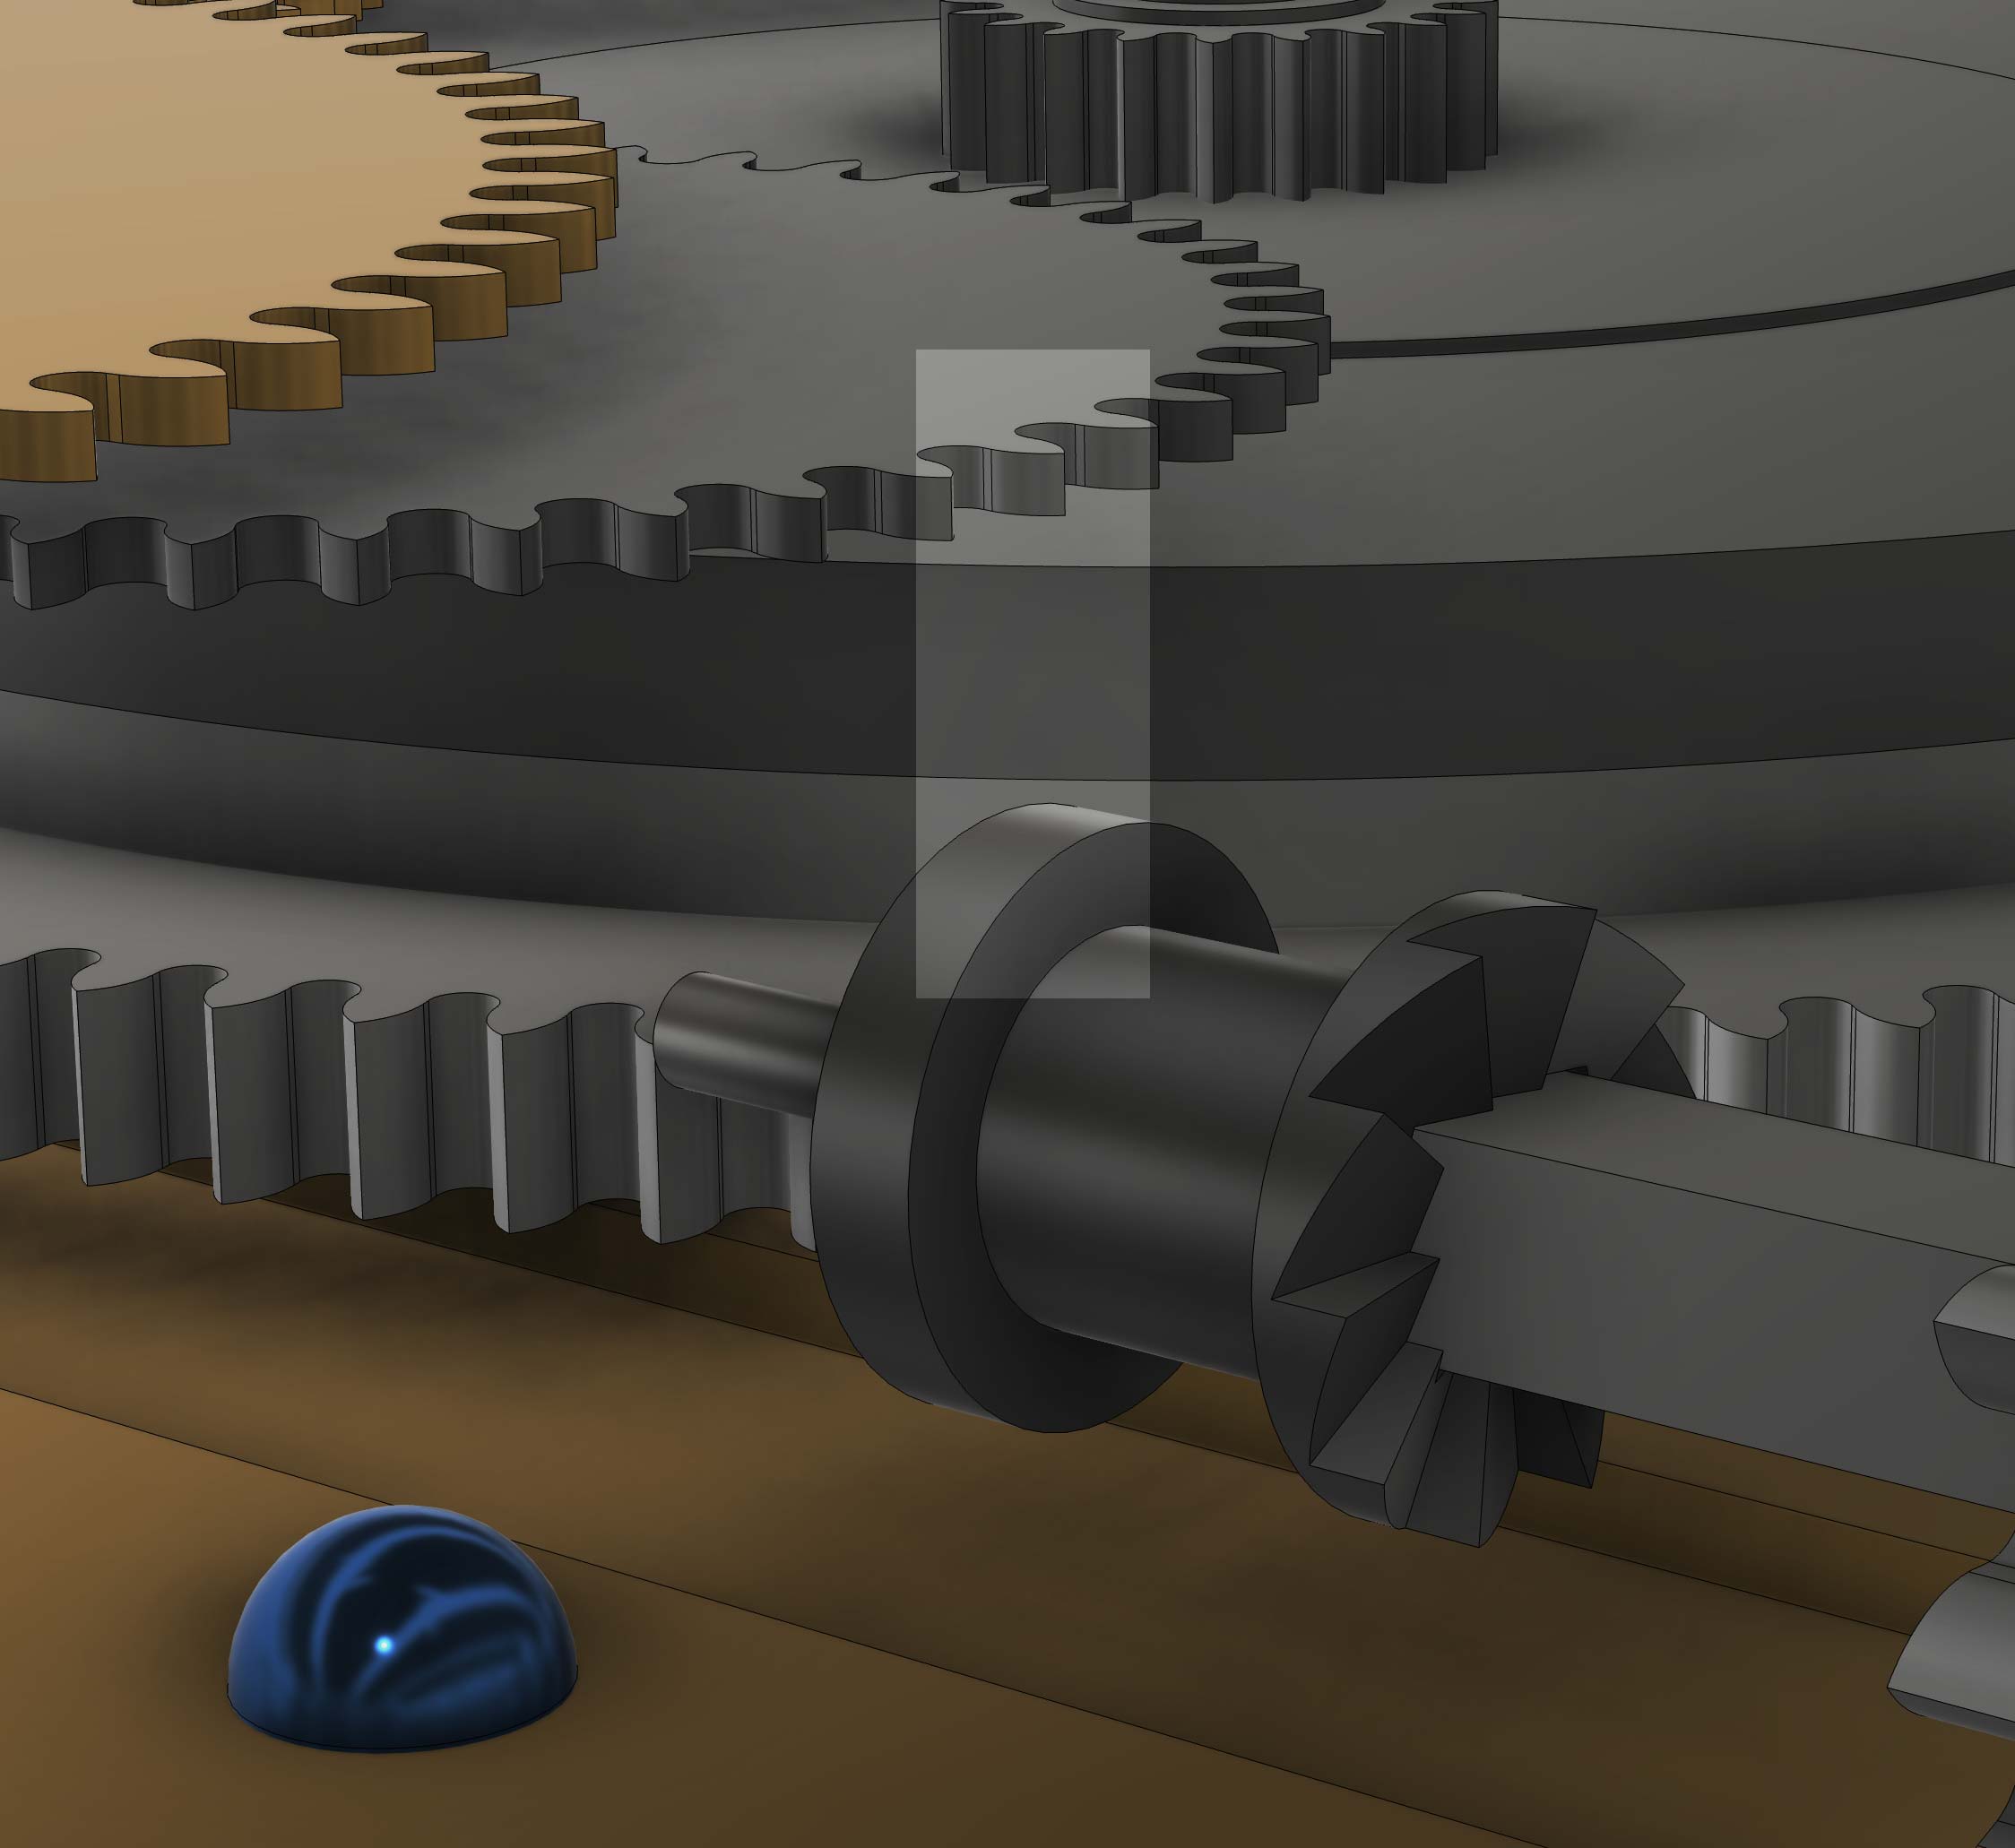
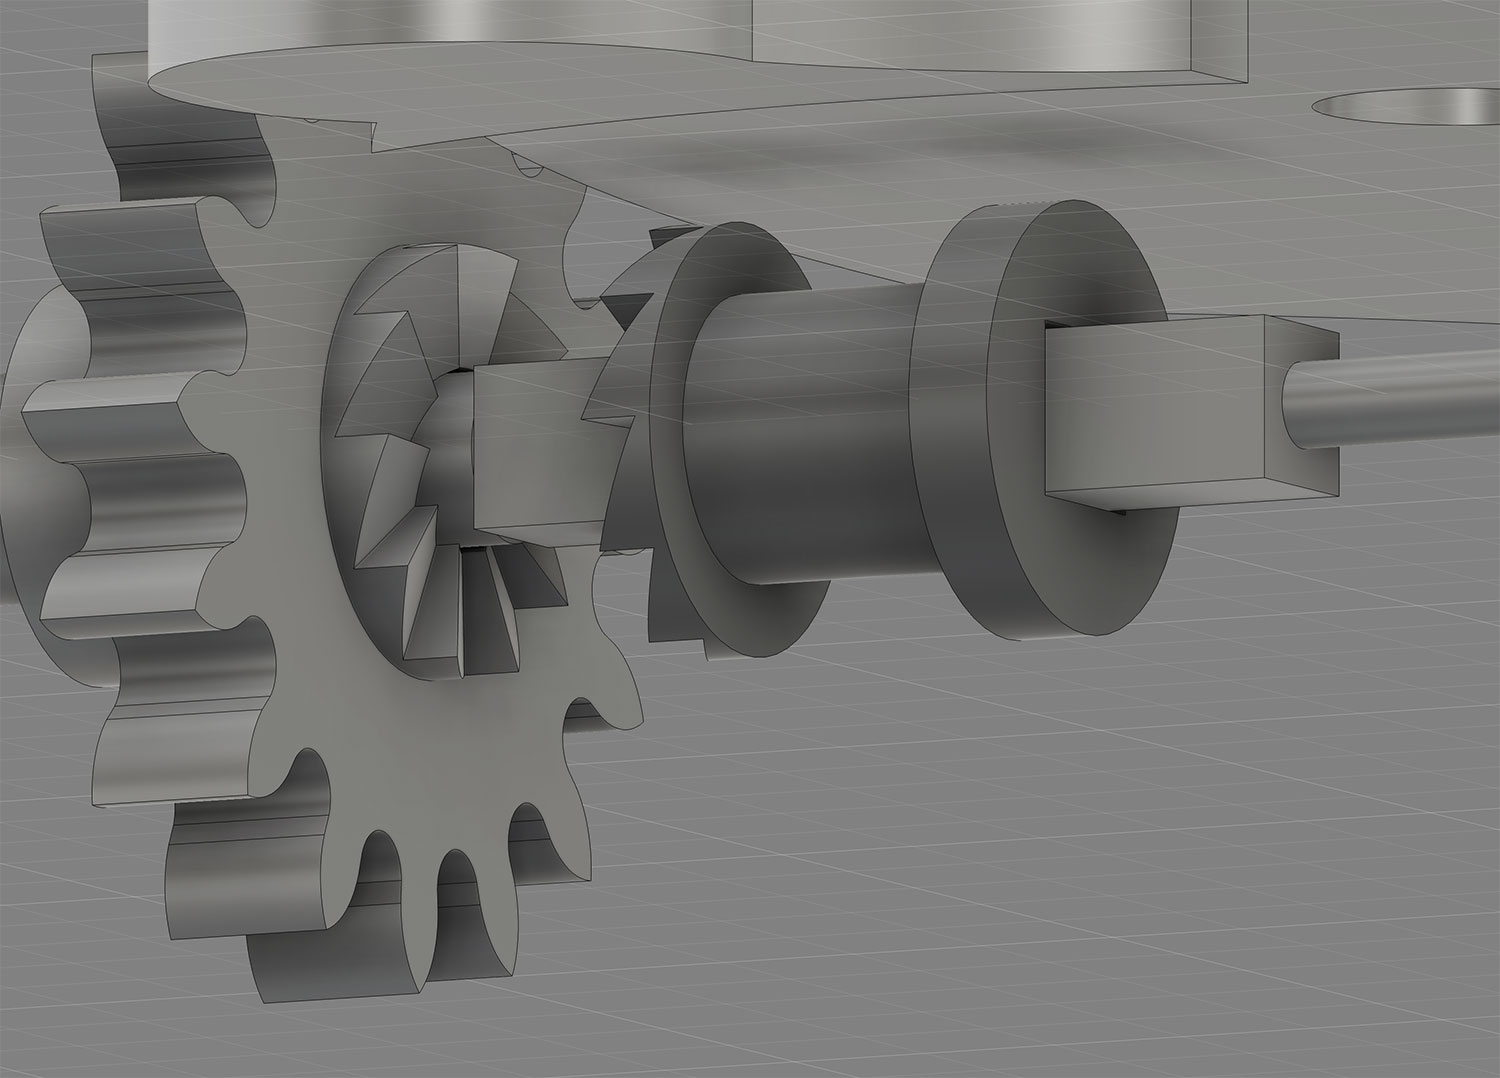
Focus on the Winding Pinion and Sliding Pinion
Today’s work revolved around two critical components of the winding mechanism: the winding pinion and the sliding pinion. These small but essential parts are at the heart of a smooth and reliable movement, and I wanted to ensure every detail was just right.
The winding pinion is responsible for transmitting motion from the crown to the mainspring barrel, while the sliding pinion enables the switch between winding the mainspring and setting the time. Designing and refining these components requires balancing precision and functionality, especially in the tight constraints of the movement.
It’s a rewarding challenge to see how these pinions interact and fit within the mechanism. The precision required highlights how every fraction of a millimeter matters in watchmaking, and it’s a reminder of why I love this craft. 😊
I’m looking forward to continuing this work tomorrow and seeing how these components contribute to the winding mechanism as a whole. Stay tuned!